Tuesday, January 5, 2021

Cabinet Re-Build for Studio A, part 3...

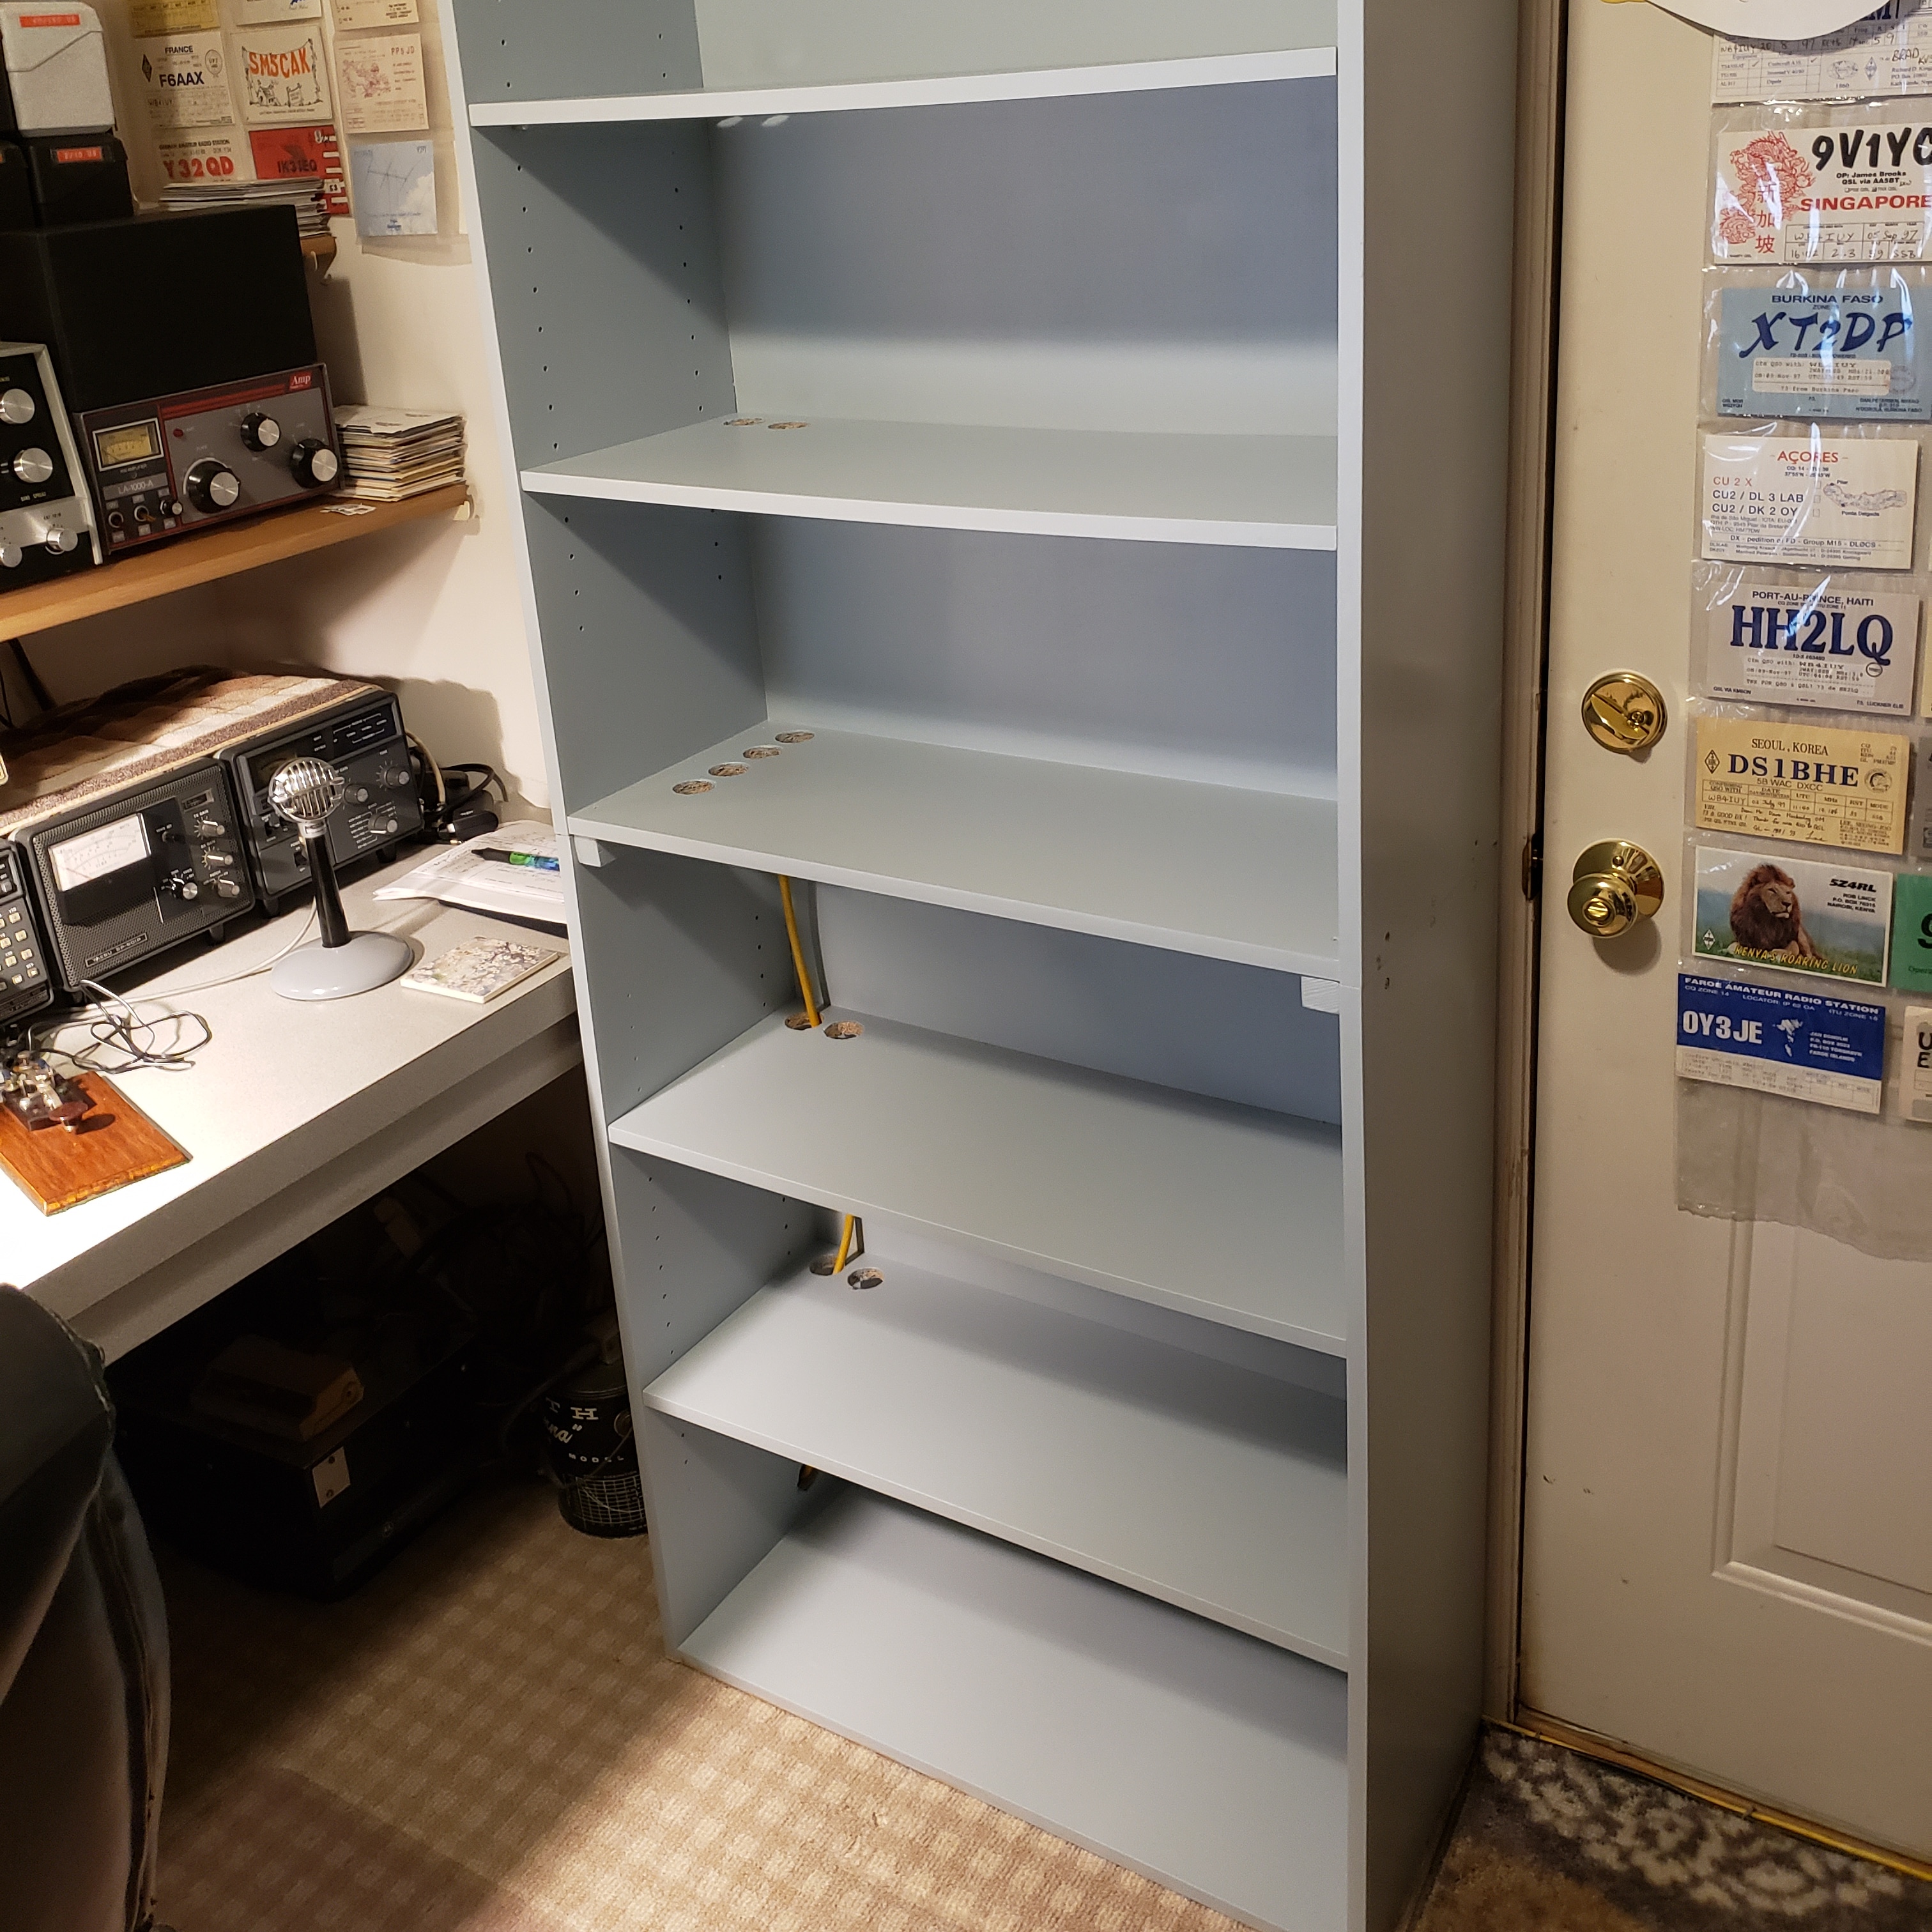
 We're back on the cabinet project. Wow, this thing is really coming along. Time to spackle some dings, screw holes, etc, and get the paint on. One of the photos below shows the cabinet on a table in the yard, just after sanding it a bit. This turned out very nice, and you will see a pic in the end of it in position with some of the AC power installed...


http://www.WB4IUY.net

Wednesday, December 30, 2020

Cabinet Re-Build for Studio A, part 2...

 Picking back up on the cabinet build for Studio A. It's been a fun project, and CHEAP. I had a unique space size to utilize, and this pair of old shelving units just happened to be thr correct width. For $5, I couldn't help but tackle this build. Below are a few photos of the shelves after being drilled, and the shelves fitted into the locations I needed them at... Enough for today, paint tomorrow!


http://www.WB4IUY.net

Tuesday, December 29, 2020

Cabinet Re-Build for Studio A...

I had a little extra wall space in Studio A, and wanted to use it for some of my shortwave radios, QSL card files, etc. Debbie looked around on marketplace and found a local person with a couple of cheesy shelving units for $5. After getting the dimensions, I decided to get them and rebuild them to fit my needs. The shelf loading would be low, so I thought these would work out just fine. Here's a few pics and descriptions...

I began by assembling the bits from the pile of wood I bought. I used the cheesy cardboard backing just to hold it square during assembly. I used some 1" square stock as joiners to hold the two cabinet sections together.


You can see the 1" square stock pieces I used to join the sections. There was no top board for one of the shelving units, so I screwed the bottom board into the upper part, screwed the 1" joiners to the bottom of that shelf, then the sides of the lower section to the joiners. 


I picked up a sheet of 1/8" thick composite cabinet backing from Lowe's for about $12, cut and nailed it to the back. It's much stronger than cardboard, and holds the cabinet square very nicely. 


 View from the front. I put the textured side facing forward, since it would hold paint well and not scratch off easily. 


The bottom of the cabinet is seen in this photo. I plan to pre-drill holes in the shelving and side of the cabinet for AC power and antenna feedlines to enter. 


You can see the holes in the cabinet side in the pic above. Enough for today, I'll get back on this tomorrow and continue. 

http://www.WB4IUY.net
Sunday, December 20, 2020

32 Year Old Keyboard & Cleaning...

I know, I'm a tightwad... I also like old stuff :-) I have an old keyboard that I've used in the shack for years, on several computers. I keep using this old keyboard because I like it, it's small, and doesn't take up my space on the table. It's perfect for my application, and every other keyboard I have looks like a monster beside this thing. It's actually the removable keyboard from an old 1988 Compaq 286 portable computer. It uses some sort of goofy looking round connector that I found an adapter for many years ago, and the adapter uses a PS/2 style socket on the computer. 


The lighting in this photo wasn't good but it's the only thing I had of it before cleaning... If you click the photo you will get the idea of the stains and such..it really looked bad under bright light. Over the years, this thing had become yellowed, dirtied from handling with dirty hands and fingers, etc. This is a non-smoking home, but it looked like it had been in one...yet it never had. I had tried Windex, a little bit of scrubbing bubbles, etc on it, but nothing seemed to work. I was afraid to get too serious on it with liquids. It just kept getting dirtier. My wife had one of those Mr. Clean magic erasers (you wet it, squeeze it out, and it does remarkable things!). I tested one corner of the keyboard and was amazed. 


I grabbed a small screwdriver and popped all of the buttons off of the board, used a little handi-vac to clean behind those, dampened a magic eraser, and got busy. I did it while listening to a shortwave radio show and it took about 2 hours, off and on. Here's the finished keyboard. It looks and works like new. I use it on 2 dual core machines via free software called "Mouse Without Borders". You can see more about that HERE


Dave WB4IUY

www.WB4IUY.net


WB4IUY Portable 1996


I found this photo while going through a bunch of old pics... Back story: This is an old Atlas 210 radio and power supply, MFJ antenna tuner, paper  & watch for logging, a copy of my license, and a roll of wire. When travelling for work, I used to put all this in a gym bag and take it on the airplanes as carry-on luggage. I'd get the a hotel room the highest I could in the structure, and after dark, I'd deploy the antenna. I would tie a weight onto the end of my antenna wire, and slide the wire out the window and down the side of the building. I'd use other wire scattered around the room for counterpoise / rf ground, tune it up, and I was on the air. Very often I noticed a lot of interference on the TV systems...I don't know what that was :-)


Once, when boarding a commercial flight, i was pulled aside and asked to open and empty the bag. I opened the bag, explained it was portable radio gear, and said "I have a Federal License for this". When I showed them my license, they immediately and said " no problem, sir, carry on. :-) Those were the good ole' days, I doubt it that would work, today! 


I made a lot of great portable contacts on that setup, and I'm sure it helped keep me out of trouble while I was on the road for days at the timer. I miss that old Atlas. It wasn't really a great radio, but it sure was a load of fun! 


Dave WB4IUY

www.WB4IUY.net