Friday, January 28, 2022

Repairing a Johnson Commercial Speaker

I repaired this speaker for a friend. This was not in bad shape, just need a couple of things. I repaired the enclosure where a chunk of the material had been broken out. I disassembled and cleaned it, and installed a new speaker lead with a connector to match his rig. It turned out pretty good and sounds great. The old commercial speakers are built to last!


http://www.WB4IUY.net

Tuesday, January 11, 2022

Eico Model 950B Capacitor Tester

 I picked this magic eye cap tester up somewhere in the last year or two, and decided to restore it. I have a soft spot for these old magic eye tube testers, and they usually work pretty good. I replaced all the caps, tested the tubes, measured and replaced all resistors in need, and cleaned all of the pots and switches. It came to life nicely, and was very accurate. These all for electrolytic caps to be tested under voltage, so they're great for finding leaky caps. Here's a few photos and a video...


http://www.WB4IUY.net

Monday, January 10, 2022

Heathkit C-3 Capacitor Tester Refurb

 I picked up the C-3 Magic Eye capacitor tester from another ham and decided to restore it. I love these old magic eye testers. These are very easy to restore....I cleaned the pots and switches, recapped it, checked all resistor values, tested the tubes, and made a little mod to the power factor switch circuit. 

The power factor switch had a multi-pole switch on the back, and was bad. I installed a 4PDT relay, built a DC supply to switch the coil, and replaced the power factor pot/switch with something I had in the shop. It all worked as it should and I didn't have to go searching for some oddball switch & pot combo to repair it. 

These are neat testers, they actually check capacitor leakage while loaded with a high voltage DC signal. They're extremely accurate for an analog instrument, to boot! Here's a few photos and a video...


 http://www.WB4IUY.net

Sunday, January 9, 2022

Hallicrafters S-38A

 I found this old Hallicrafters S-38A at a flea market, sitting on the ground with some items that were headed to a dumpster. It's pretty rough, but it is fairly intact and can be brought back to it's former glory. This was originally released in 1946. You'll be able to click the Hallicrafters_S-38A link in the RH column to check on it's progress as it happens. Here's a couple of photos, just before I start on it...


http://www.WB4IUY.net


Saturday, January 8, 2022

Zenith H723-Z

 I picked up this cool old Zenith table-top radio at a flea market. I plan to save it from the land fill. This is from 1950, it's the model H723-Z. It stands out in the Zenith model lineup because it had no handle on top, had wire mesh over the speaker cloth, and didn't have the CD (civil defense) emergency station markings on the dial. One pic below shows where I experimented on the cabinet to see if it would buff out. You'll be able to click on the Zenith H723-Z link in the RH column to see updates on this project as it progresses. 


http://www.WB4IUY.net

Monday, January 3, 2022

Hallicrafters SX-111 Final Assembly and Operation

 Before...


 After!


In previous blogs I described repairing a knob, preparing to strip the face plate, and face plate painting / lettering / pin striping / and clear coating, and restoration of the knobs and face plate bezels. She's all finished and playing like new. In earlier videos below, I mentioned trying to repair and retain the original face plate paint, but that didn't happen. No matter what I did, I kept finding rust, and I just wasn't happy about that. In the end, I'm extremely happy with the result and glad I spend the extra tie on this sweetheart of a radio! Check out the videos below to see bits and pieces of testing and restoration.


Links to various videos of the process...

- Beginning checkout and restoration the SX-111

- Investigating AVC action issue... Discussing cosmetic stuff I changed my mind on later...

- More debugging, on SSB

- Even more debugging, on AM

- Recapping underway, still debugging...

- 1st Vid in shop after reassembly 

- Online in Studio A, on the 68 Group net on 40m SSB 

- Online in Studio A, discussing work done, on Southcars net 7.251 

- Another vid on 7.251 Southcars in Studio A, showing dampened S-meter action

- Online in Studio A, demonstrating the Notch operation 


73

Dave WB4IUY

www.WB4IUY.net


Hallicrafters SX-111 Knobs and Cabinet Trim Restoration

In previous blogs I described repairing a knob, preparing to strip the face plate, and faceplate painting / lettering / pin striping / and clear coating. Now it is time to restore the knobs and face plate bezels. 

The knobs were disassembled...that is to say that I removed the rear trim ring that has the font engraved for various settings and values. Using a Dremel Tool, a buffing pad, and Flitz metal polish, I slowly buffed each ring and polished them until that were almost to a mirror finish. The center "brites" (reflective center part) in the knobs were edge cleaned with #0000 steel wool, and polished in the same was as the rear escutcheons. The horizontal trim plates were polished by hand to protect the original Hallicrafters lettering. There was a little wear on that lettering and I wanted to retain as much of it as possible. Here's a few pics from that process...


Completing the Hallicrafters SX-111 Face Plate Restoration

 Once the electrical restoration was completed, it was time for the really heavy lifting...cosmetic stuff. In previous blogs I described repairing a knob, and preparing to strip the face plate. Photos were taken of the lettering and words on the front, measurements made of the location of the words and the pinstripe, and dimensions documenting the two tone paint scheme. Then, the fun began. Here's a batch of photos of the face plate work, mostly in reverse order...


Here's a pic of the finished front panel, ready for installation!


Here's a look at the pin stripe I hand painted on the face. That was a first for me, and since I did it after applying the lettering, I was pretty nervous about this step :-)


Here, the front panel has been sprayed, had the lettering and pin stripe applied, and awaiting a couple of coats of clear matte spray to protect everything.


A photo of the front panel with the lettering applied, awaiting the pin stripe application.


Meanwhile, the cabinet was taking shape. Here is is after sanding, filling, primer, and color being applied. 


Cabinet in primer, drying in the sun.


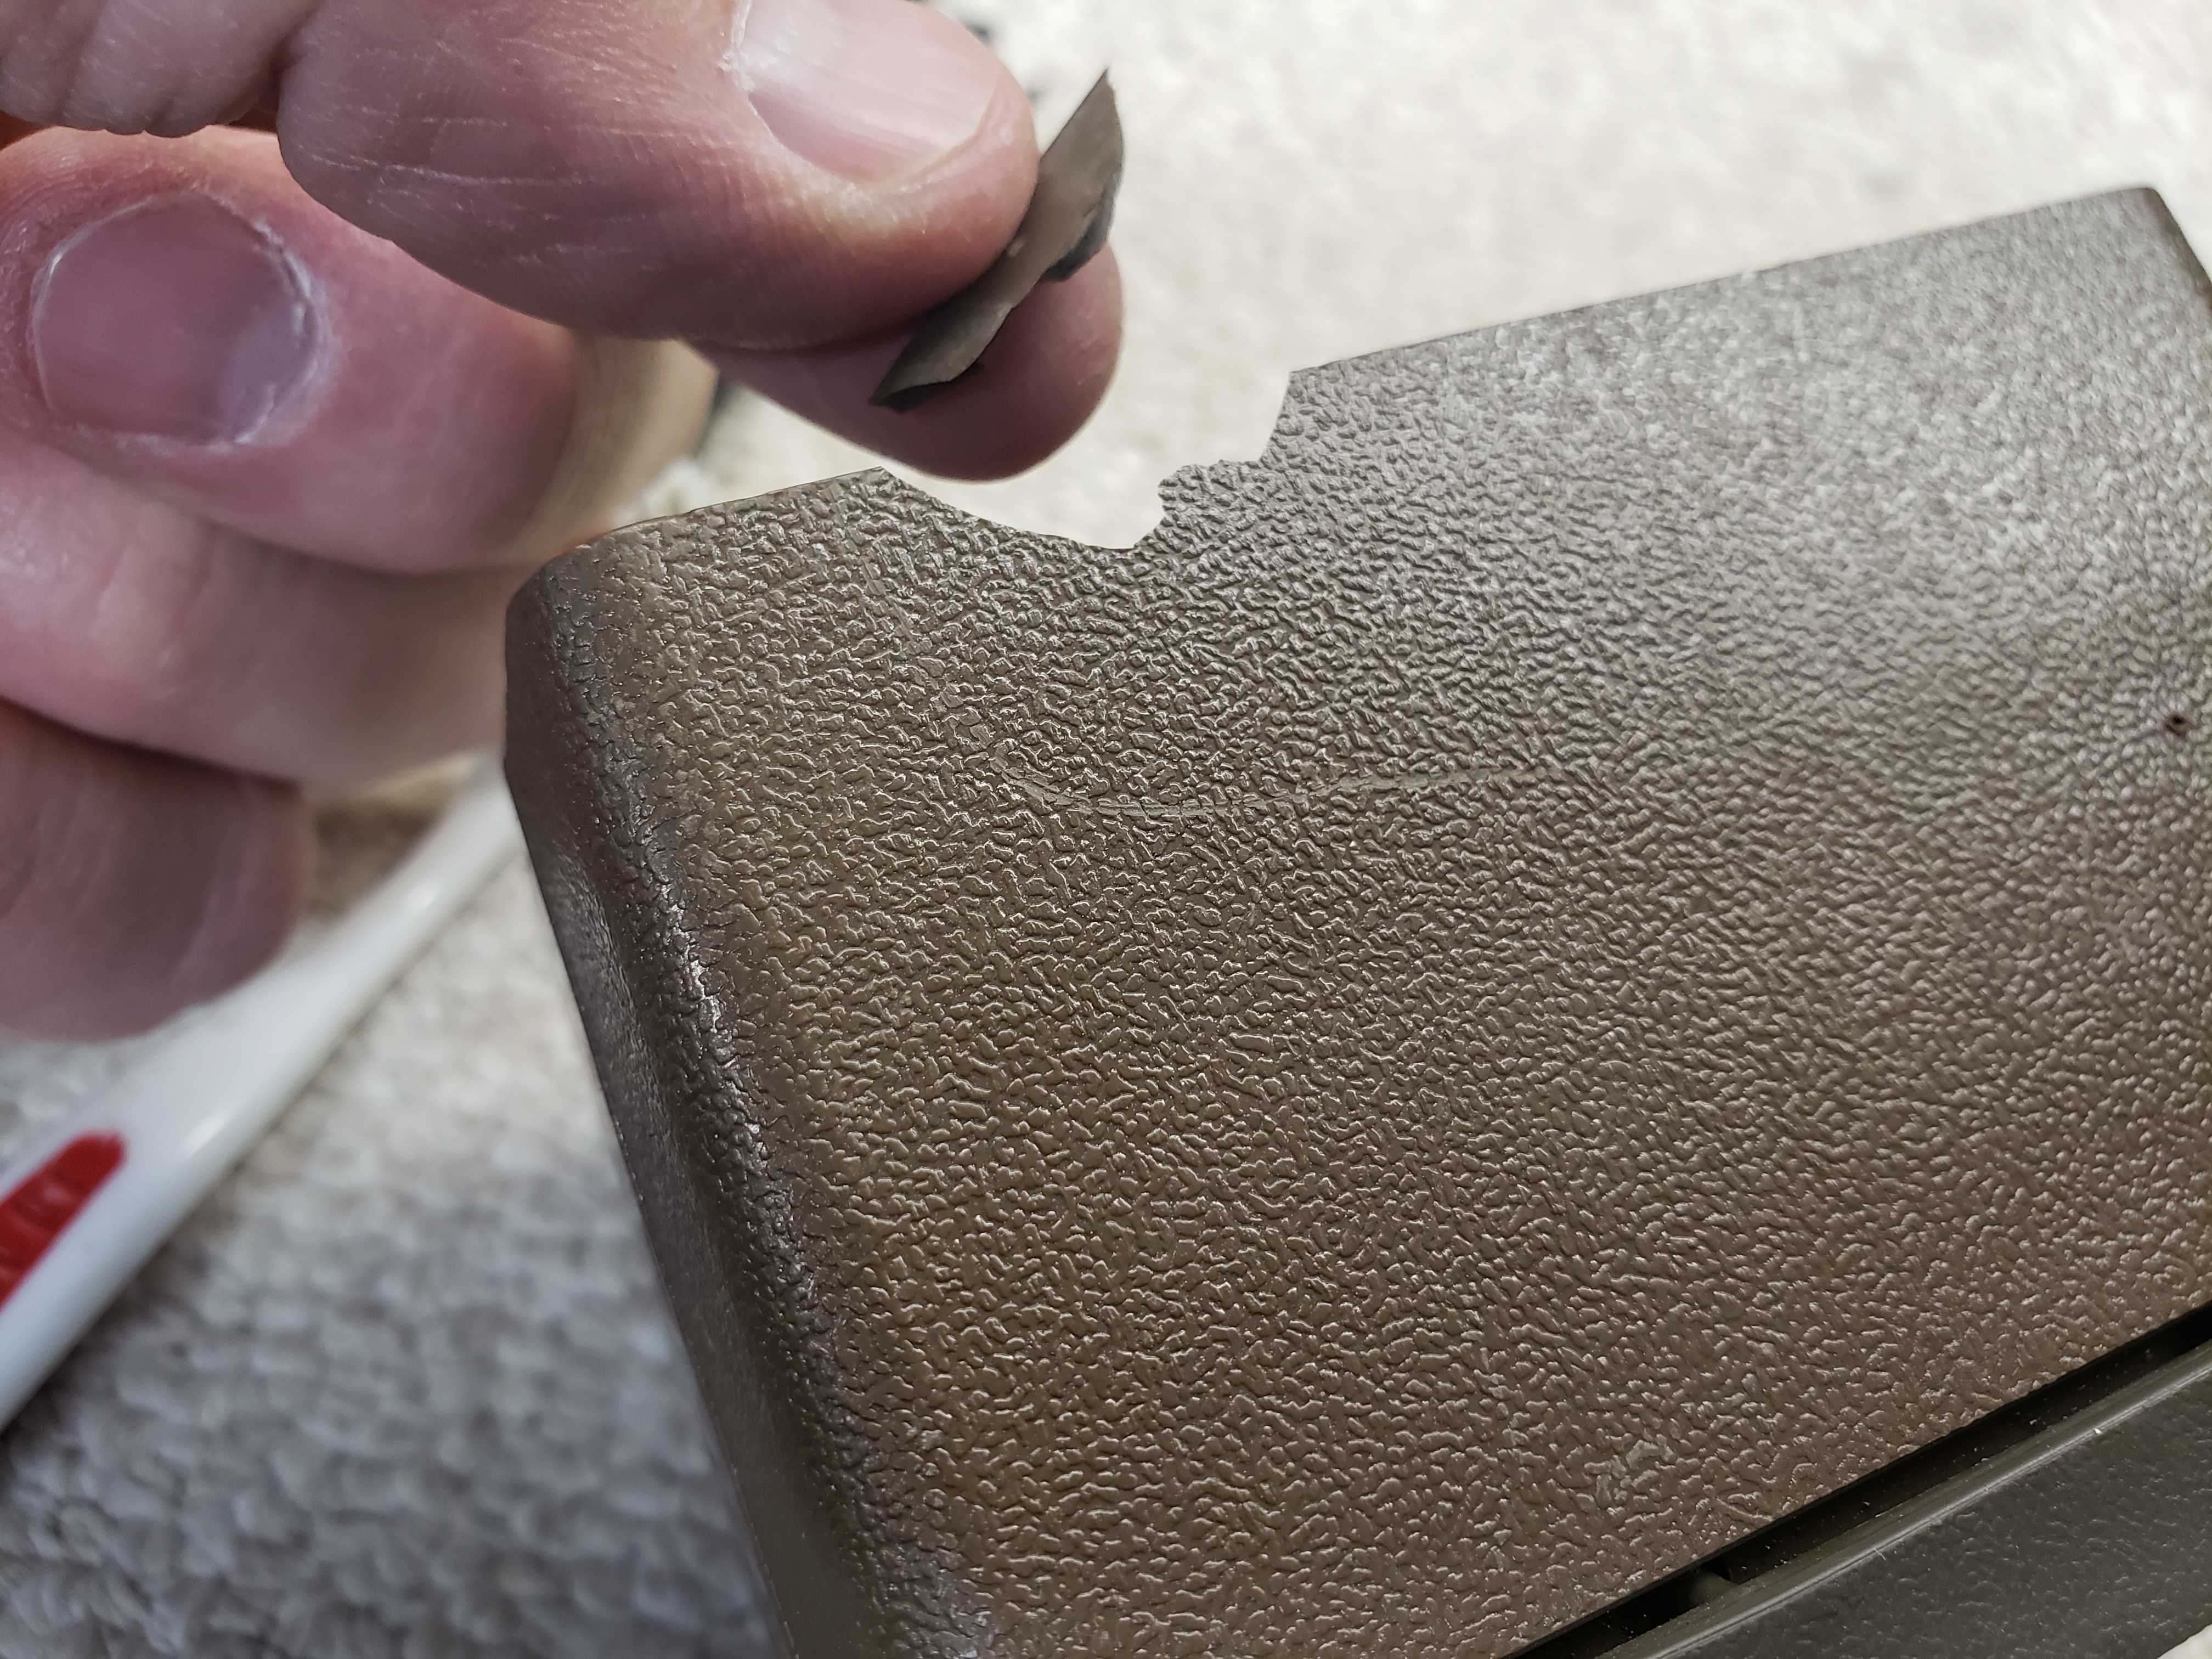
The cabinet being sanded, having rust removed, and prepped for filler & primer.


A test fit of the dial lens, after the two-tone paint was applied. 


Lower section sprayed gray...


Face being taped off to spray gray on lower section.


Whole face plate sprayed in black...


Face in primer, after sanding away all of the rust and old paint, filling the pitting, and prep.


Dave WB4IUY

www.WB4IUY.net