Showing posts with label Cabinet. Show all posts

Wednesday, January 29, 2025

Shelving update, Studio A

 A couple of years back, I needed a cabinet in my radio room to fill a small gap and utilize some wasted space. I bought a couple of junked-out book cases for a few bucks, off marketplace. The build can be seen at https://wb4iuy.blogspot.com/search/label/Cabinet 

The shelving is partical board. With the weight of radios, they began to sag. I bought somecheap aluminum plyboard edging from Ace Hardware. This is a "U" shaped extrusion. I drilled holes in the center, and attached it to the lower edge of the shelving with wood screws. This straightened the shelving, and reinforced it for the heavier load.


Monday, August 1, 2022

Cabinet Re-Build for Studio A, FINISHED!

Yay!! The cabinet build is finished for Studio A. I actually finished this some time back, but forgot to upload all of the build photos and info. Click "Cabinet" in the RH column of my blog sections called "Jump to Posts on Specific Topics" to see the whole build. This whole thing was done for less than $30!


 http://www.WB4IUY.net

Tuesday, January 5, 2021

Cabinet Re-Build for Studio A, part 3...

 We're back on the cabinet project. Wow, this thing is really coming along. Time to spackle some dings, screw holes, etc, and get the paint on. One of the photos below shows the cabinet on a table in the yard, just after sanding it a bit. This turned out very nice, and you will see a pic in the end of it in position with some of the AC power installed...


http://www.WB4IUY.net

Wednesday, December 30, 2020

Cabinet Re-Build for Studio A, part 2...

 Picking back up on the cabinet build for Studio A. It's been a fun project, and CHEAP. I had a unique space size to utilize, and this pair of old shelving units just happened to be thr correct width. For $5, I couldn't help but tackle this build. Below are a few photos of the shelves after being drilled, and the shelves fitted into the locations I needed them at... Enough for today, paint tomorrow!


http://www.WB4IUY.net

Tuesday, December 29, 2020

Cabinet Re-Build for Studio A...

I had a little extra wall space in Studio A, and wanted to use it for some of my shortwave radios, QSL card files, etc. Debbie looked around on marketplace and found a local person with a couple of cheesy shelving units for $5. After getting the dimensions, I decided to get them and rebuild them to fit my needs. The shelf loading would be low, so I thought these would work out just fine. Here's a few pics and descriptions...

I began by assembling the bits from the pile of wood I bought. I used the cheesy cardboard backing just to hold it square during assembly. I used some 1" square stock as joiners to hold the two cabinet sections together.


You can see the 1" square stock pieces I used to join the sections. There was no top board for one of the shelving units, so I screwed the bottom board into the upper part, screwed the 1" joiners to the bottom of that shelf, then the sides of the lower section to the joiners. 


I picked up a sheet of 1/8" thick composite cabinet backing from Lowe's for about $12, cut and nailed it to the back. It's much stronger than cardboard, and holds the cabinet square very nicely. 


 View from the front. I put the textured side facing forward, since it would hold paint well and not scratch off easily. 


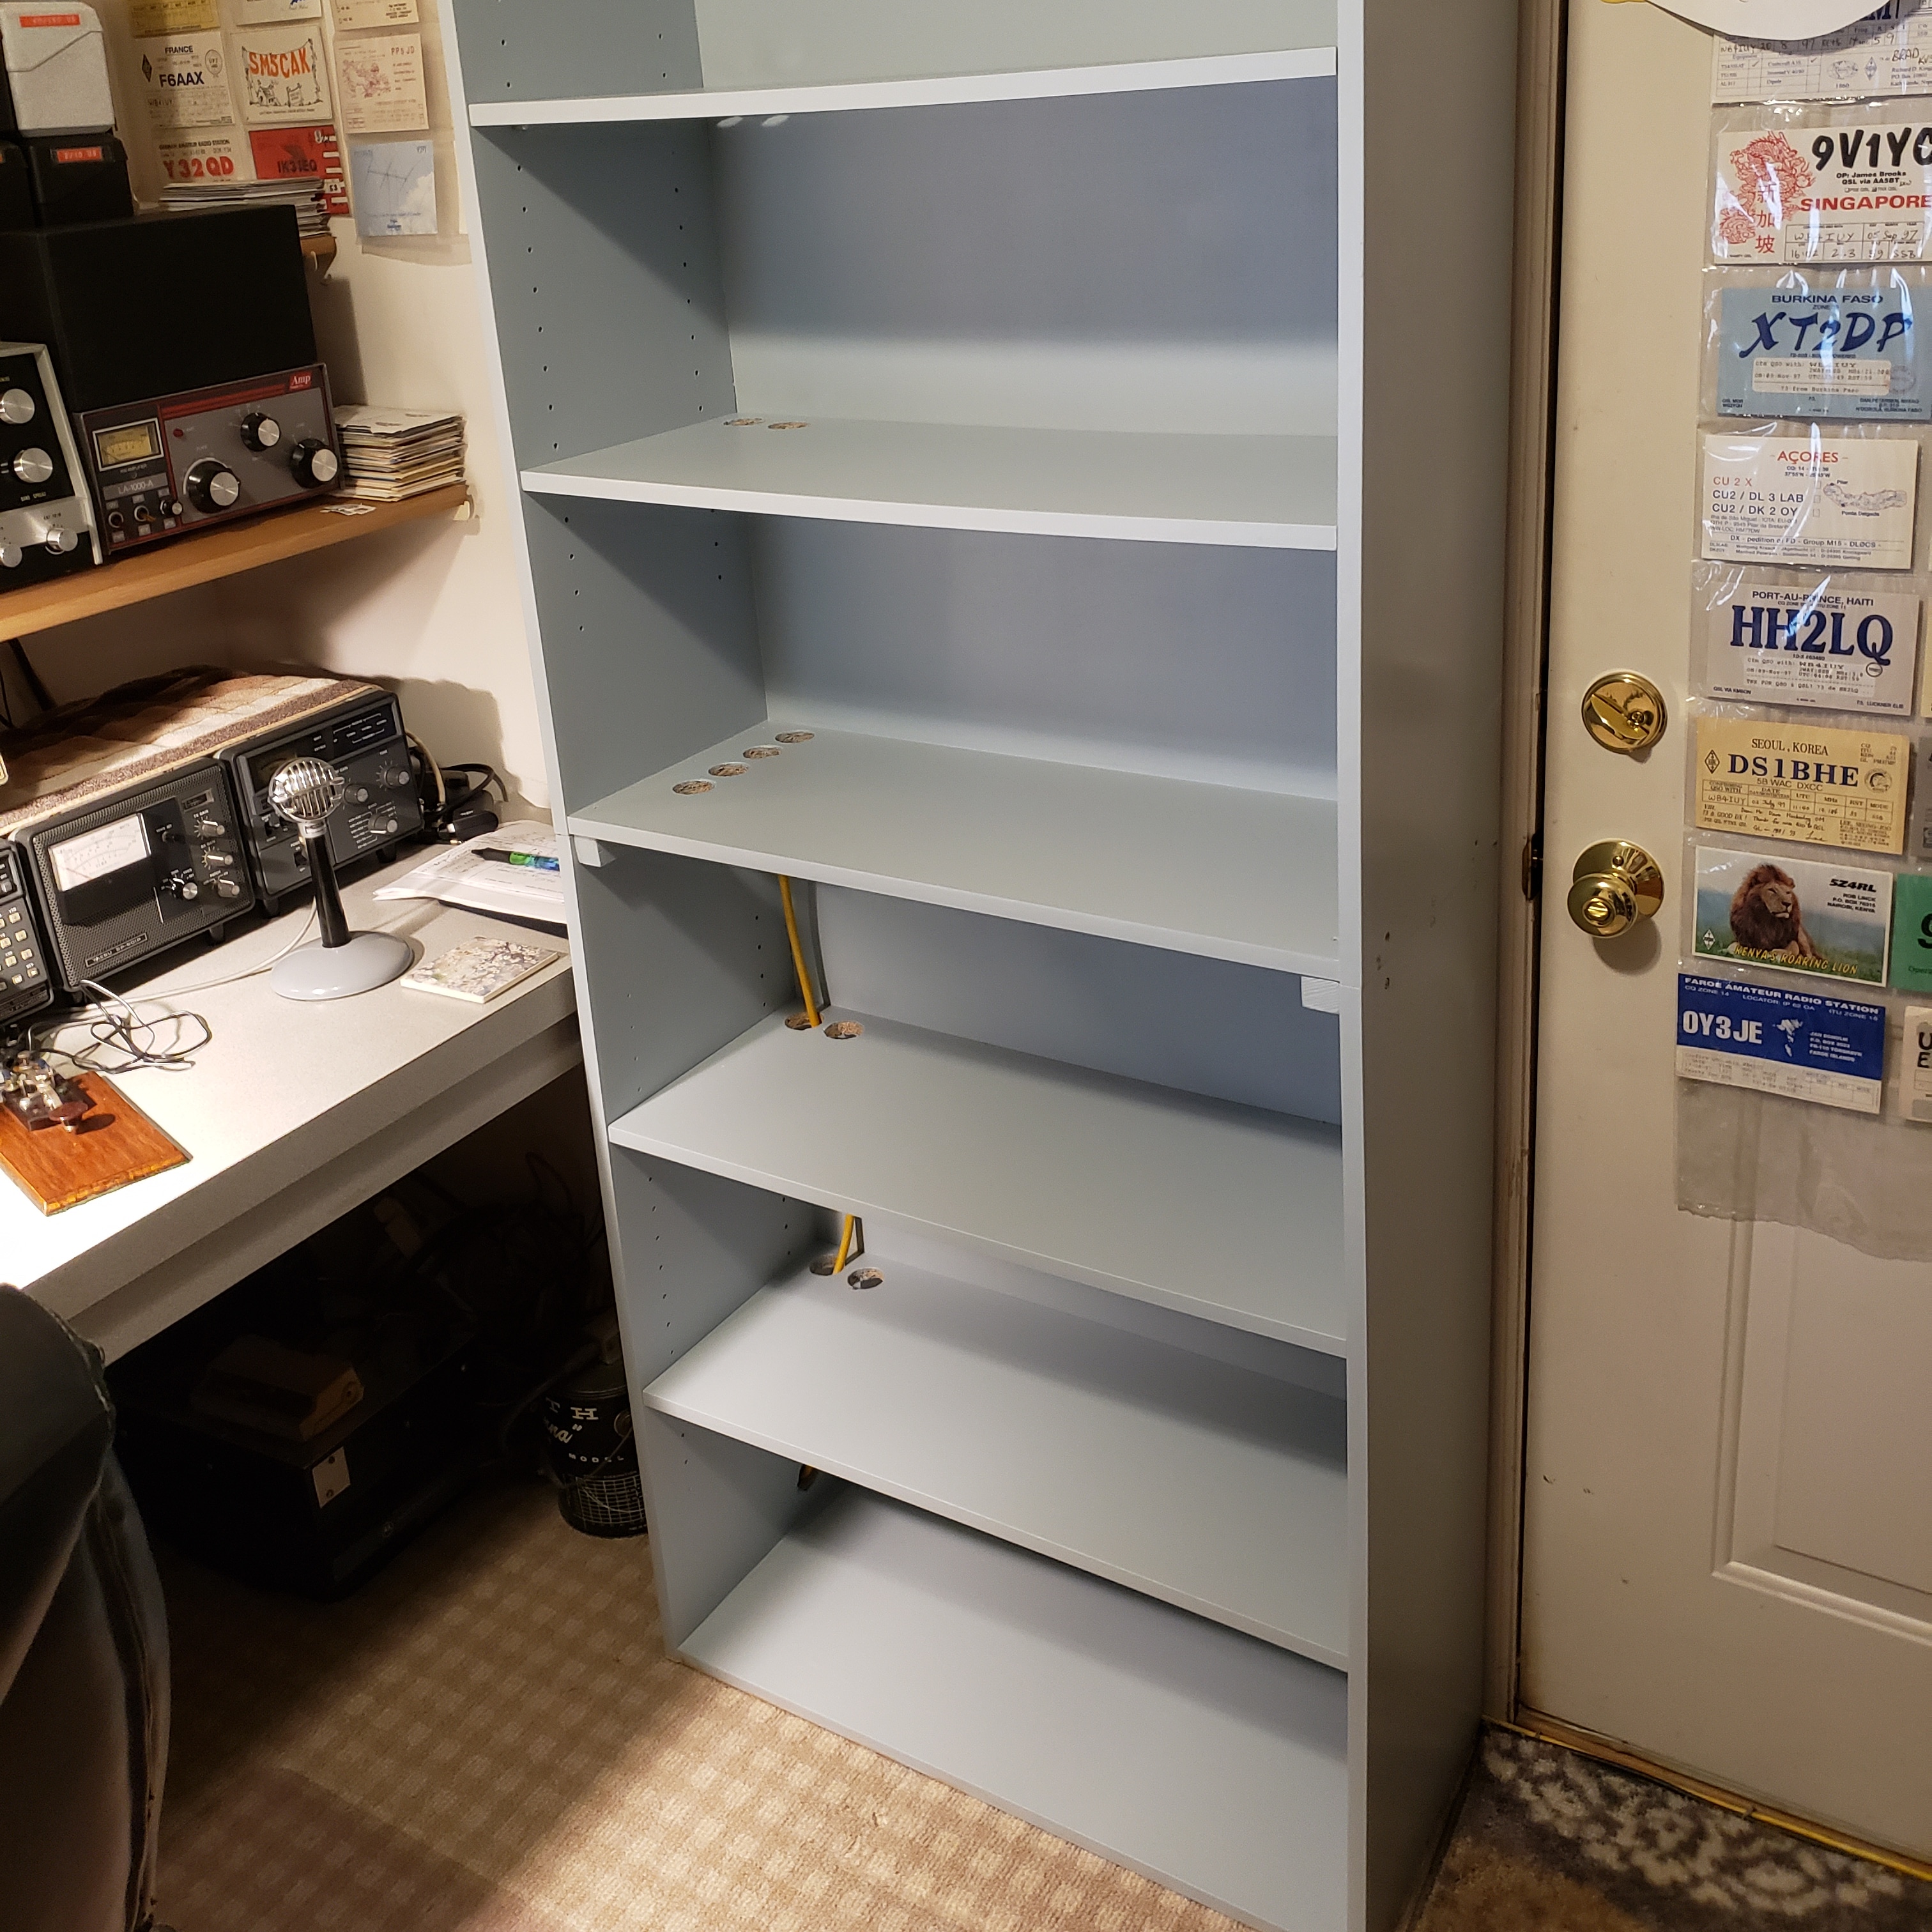
The bottom of the cabinet is seen in this photo. I plan to pre-drill holes in the shelving and side of the cabinet for AC power and antenna feedlines to enter. 


You can see the holes in the cabinet side in the pic above. Enough for today, I'll get back on this tomorrow and continue. 

http://www.WB4IUY.net