This is a Heathkit VF-1 that I got from a friend. This was released around 1952 as a matching VFO for the Heathkit AT-1 transmitter. These have been found paired up with a multitude of transmitters. This unit was miswired internally, needed some TLC, and repair to the octal plug and power cord. I'm not sure it ever worked correctly, but it does now (with my DX-40). I cleaned and repainted the cabinet, and compounded and waxed the faceplate. I can't believe the dark wear mark across the front actually came out!
I've been in Amateur Radio since 1974, and still find new and interesting things to do. I like to build, restore, and operate on the air. This blog has been running for many years, so be sure to check out "Jump to Posts on Specific Topics" in the RH column to drill down and find lots of stuff. Visit www.WB4IUY.net, email to wb4iuy@gmail.com, or leave comments here directly on my blogs.
Tuesday, February 18, 2025
Swan 406 Remote VFO
This is a Swan 406 remote VFO. It was pretty common for mobile operation in the 60's and 70's. This one wasn't in horrible condition, it just needed a little TLC. I cleaned it, serviced the rotary switches, repaired the broken remote cable and installed a strain relief on it, repainted the case, and she was ready to go. Since my Swan 400 didn't have a VFO (the 400 required an external vfo), it was the perfect lashup.
Tuesday, October 22, 2024
Siltronix VFO mods...
This is a Siltronix Model 90 VFO I worked on for a friend. Siltronix equipment was basically the 11m division of Swan / Signet, hence the similarities. These were common place on CB rigs of the past, but are GREAT on older ham rigs as an external VFO and as a replacement for crystals.
This one already had a digital programmable freq counter installed. In 12 hrs it would wander 20.0+ khz. I modified it and installed a voltage regulator in the osc supply, removed all the flex wiring in the freq determining circuits and installed rigid copper, bonded the circuit board to the chassis, and adjusted the vfo coil for proper operation. It now only drifts 1.5-2 khz in a 24 hr period.
Hint #1: 2 caps in the osc can move this from 1.5mhz to over 30mhz... Great hamfest finds and easy to mod. The freq display only runs about $15 on Amazon.
Hint #2: The model #90 has a 5 position band switch in the lower LH side of the front panel. The first 2 positions select different cap values (the dial has about 400khz band spread). The other 3 positions are for crystals, but can be rewired to select different cap values, as well. Since it's a 5pDt switch, the other part of the switch can be used to select presets in the freq counter offset. That would be handy on older rigs where you might use the fundamental freq on 160, 80, or 40 meters, but may use the 2nd harmonic on 20m, 3rd harmonic on 15m, etc. Very handy!
The Model 80 is basically the same vfo without the band switch and such.
Monday, November 26, 2012
FV-101DM VFO to FT-901DM radios
The FT-901Ds have a totally different interconnection design from that of the 101ZD's. The 101ZD's have two cables between the VFO and transceiver, the 901Ds utilize one. Additionally, the FV-101Z & FV-901DM have a different pinout on VFO port B than the FV-101DM.
After a bit of experimentation, I discovered the FV-101DM can be interfaced to the FT-901DM with a little work, and retain most of the functionality of the FV-101DM's original design. Here's what has to be done:
1- A jumper must be installed from pin 7 of port A to pin 1 of port B on the VFO.
2- The 6-pin cable supplied with the FV-101DM only utilizes 3 wires (with no shielded circuits for the VFO output), as it intends for the VFO communications to the 101ZD to be via VFO port A. For this reason, a new cable with 6-pin connectors must be assembled to connect from the FT-901DM to the FV-101DM VFO port B. Wire the cable, pin to pin (i.e. Pin 1 to pin 1, pin 2 t pin 2, etc). Use a piece of small coaxial cable with the center conductor connecting pin 1 to pin 1, and the shield connecting pin 2 to pin 2. Standard unshielded wire is fine for the other pins.
3- Assemble a power cord to plug into port A on the VFO, to supply an external 12 vdc source to pin 1. Include a fuse link at 250ma to protect the circuit in the event of a problem. Connect the negative of the 12 vdc source to the cabinet of the VFO (there is no ground connection in the socket for port A on the VFO).
That's it! Mine is working great, and has all functionality except the VFO memories can not be programmed from the FT-901DM, but can be programmed from the VFO just fine. This is because there is no feedback path from the FT-901's internal VFO to the FV-101DM VFO like there is with the FT-101ZD.
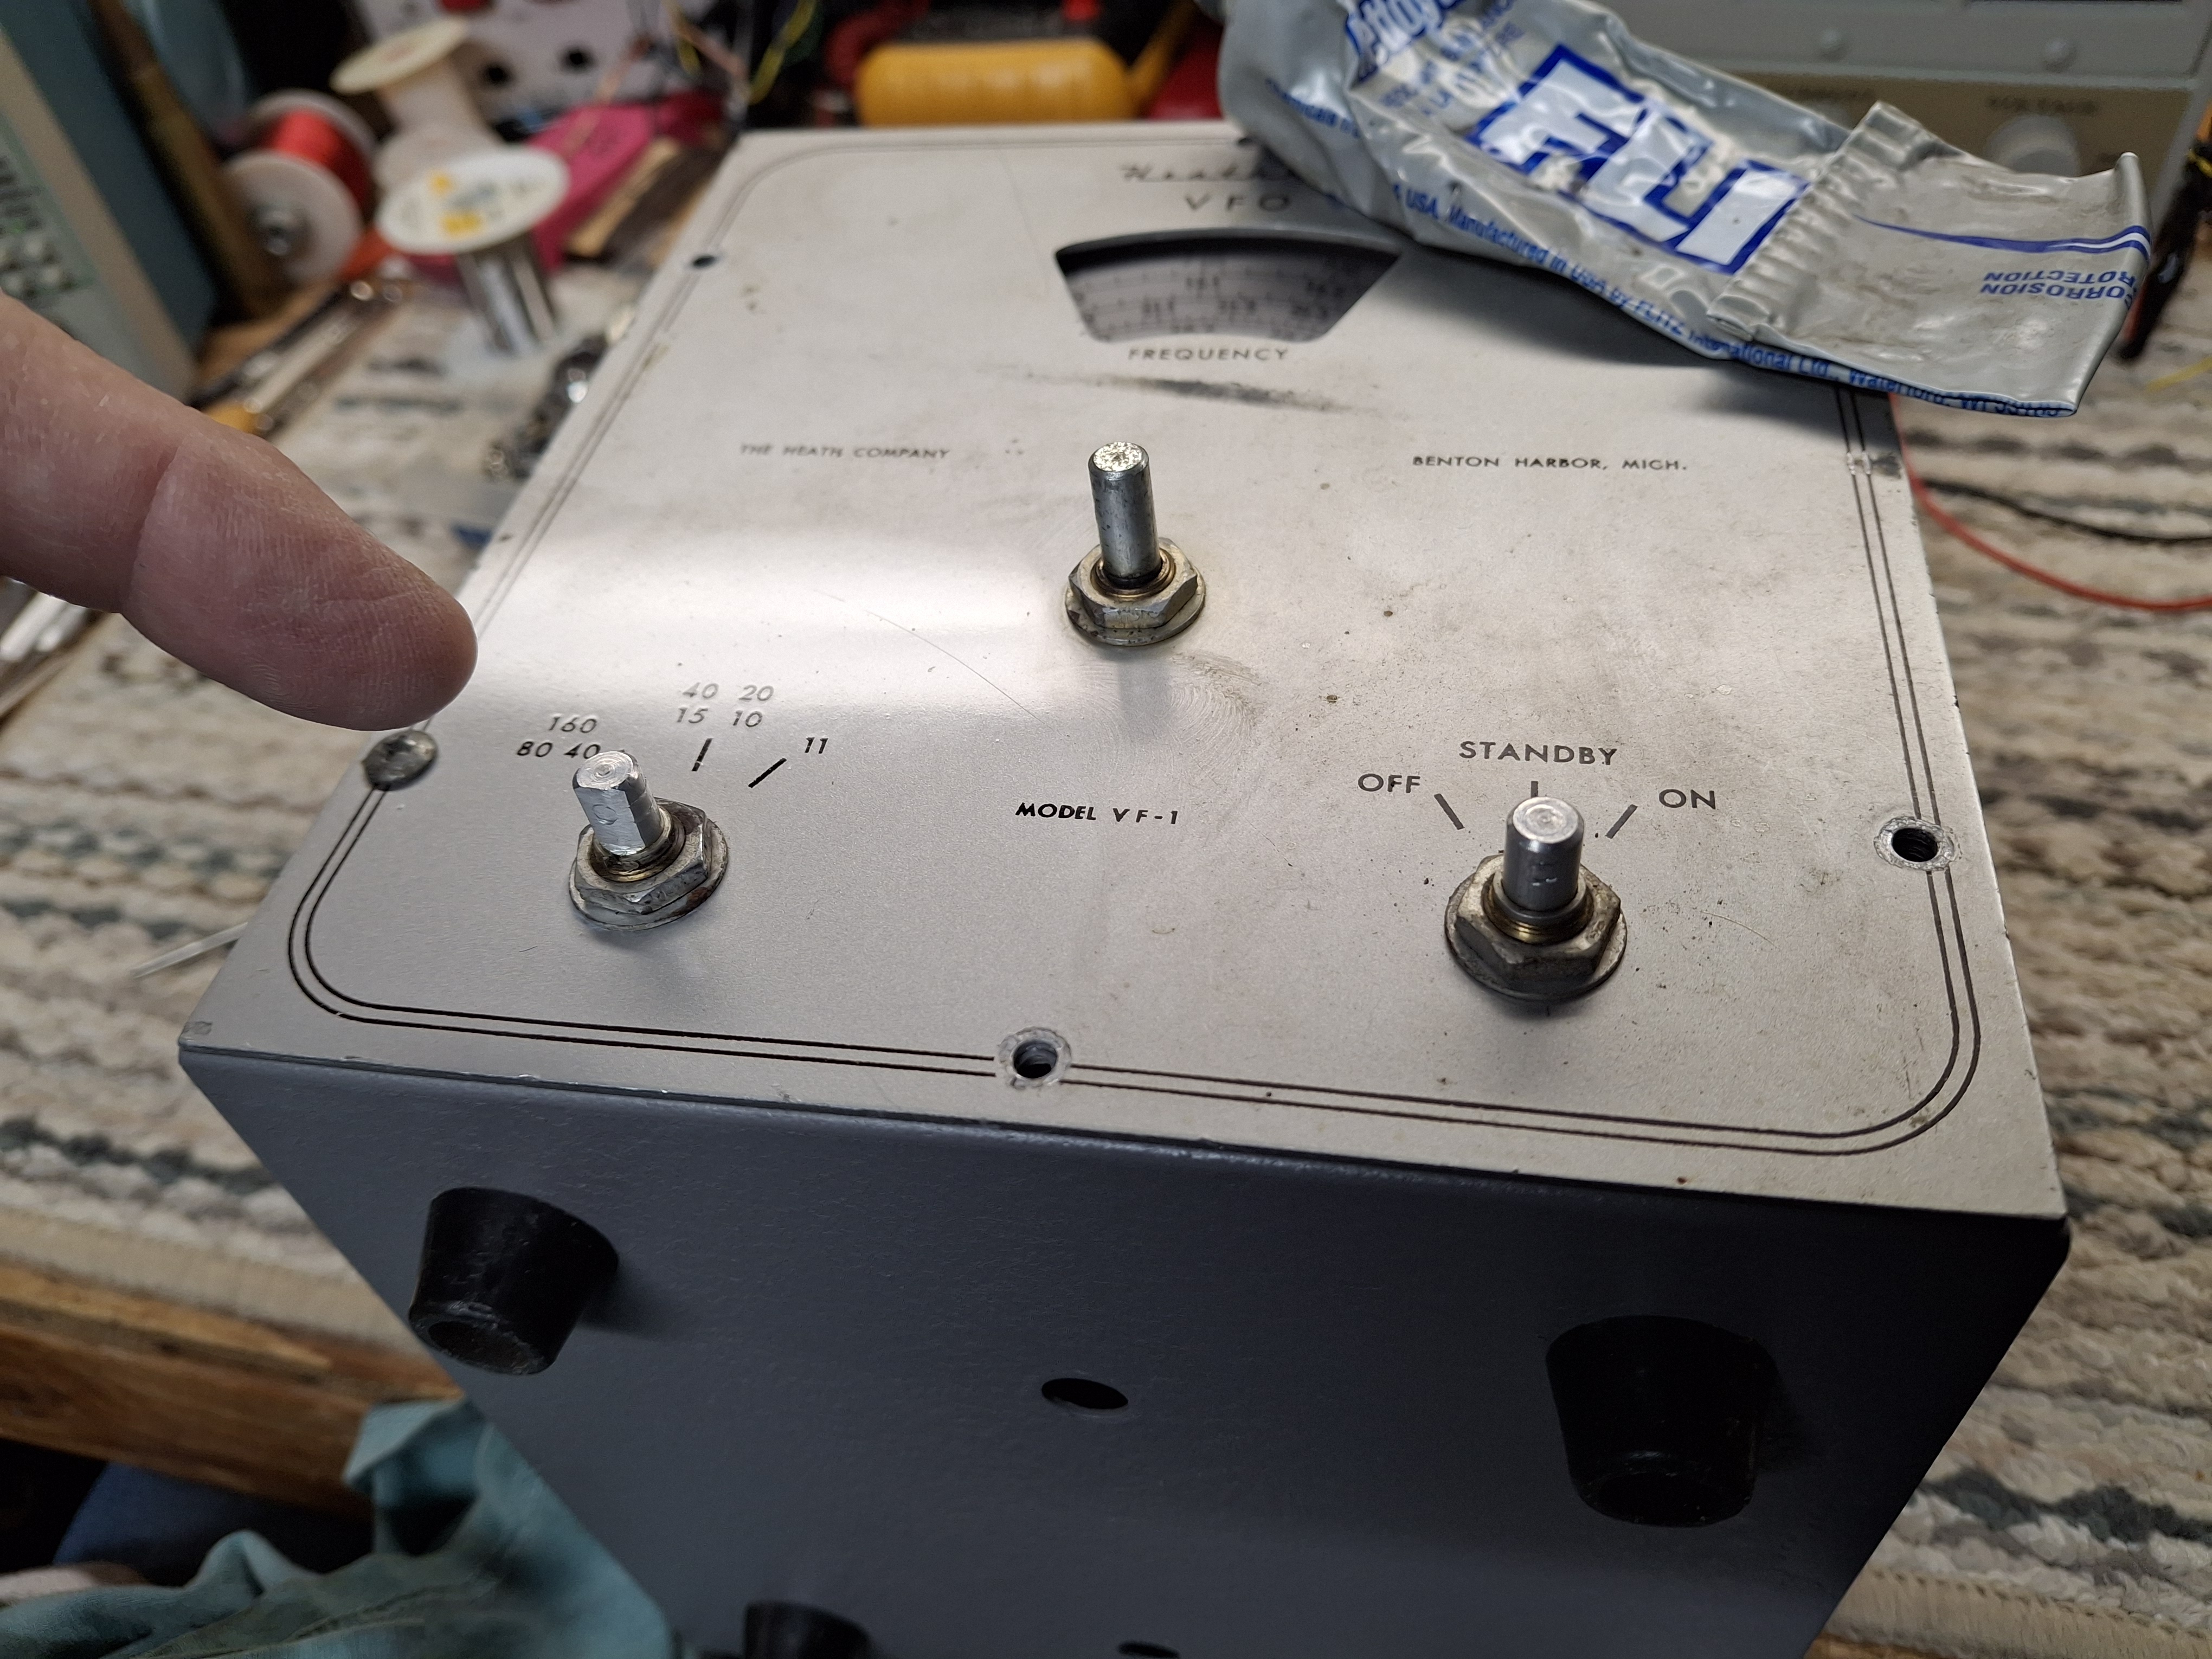
The FV-101 is a good cosmetic match, and works well with the 901 after these mods. Below is a pic of the reassembled VFO as paired up with my FT-901.
Dave WB4IUY
www.WB4IUY.net


