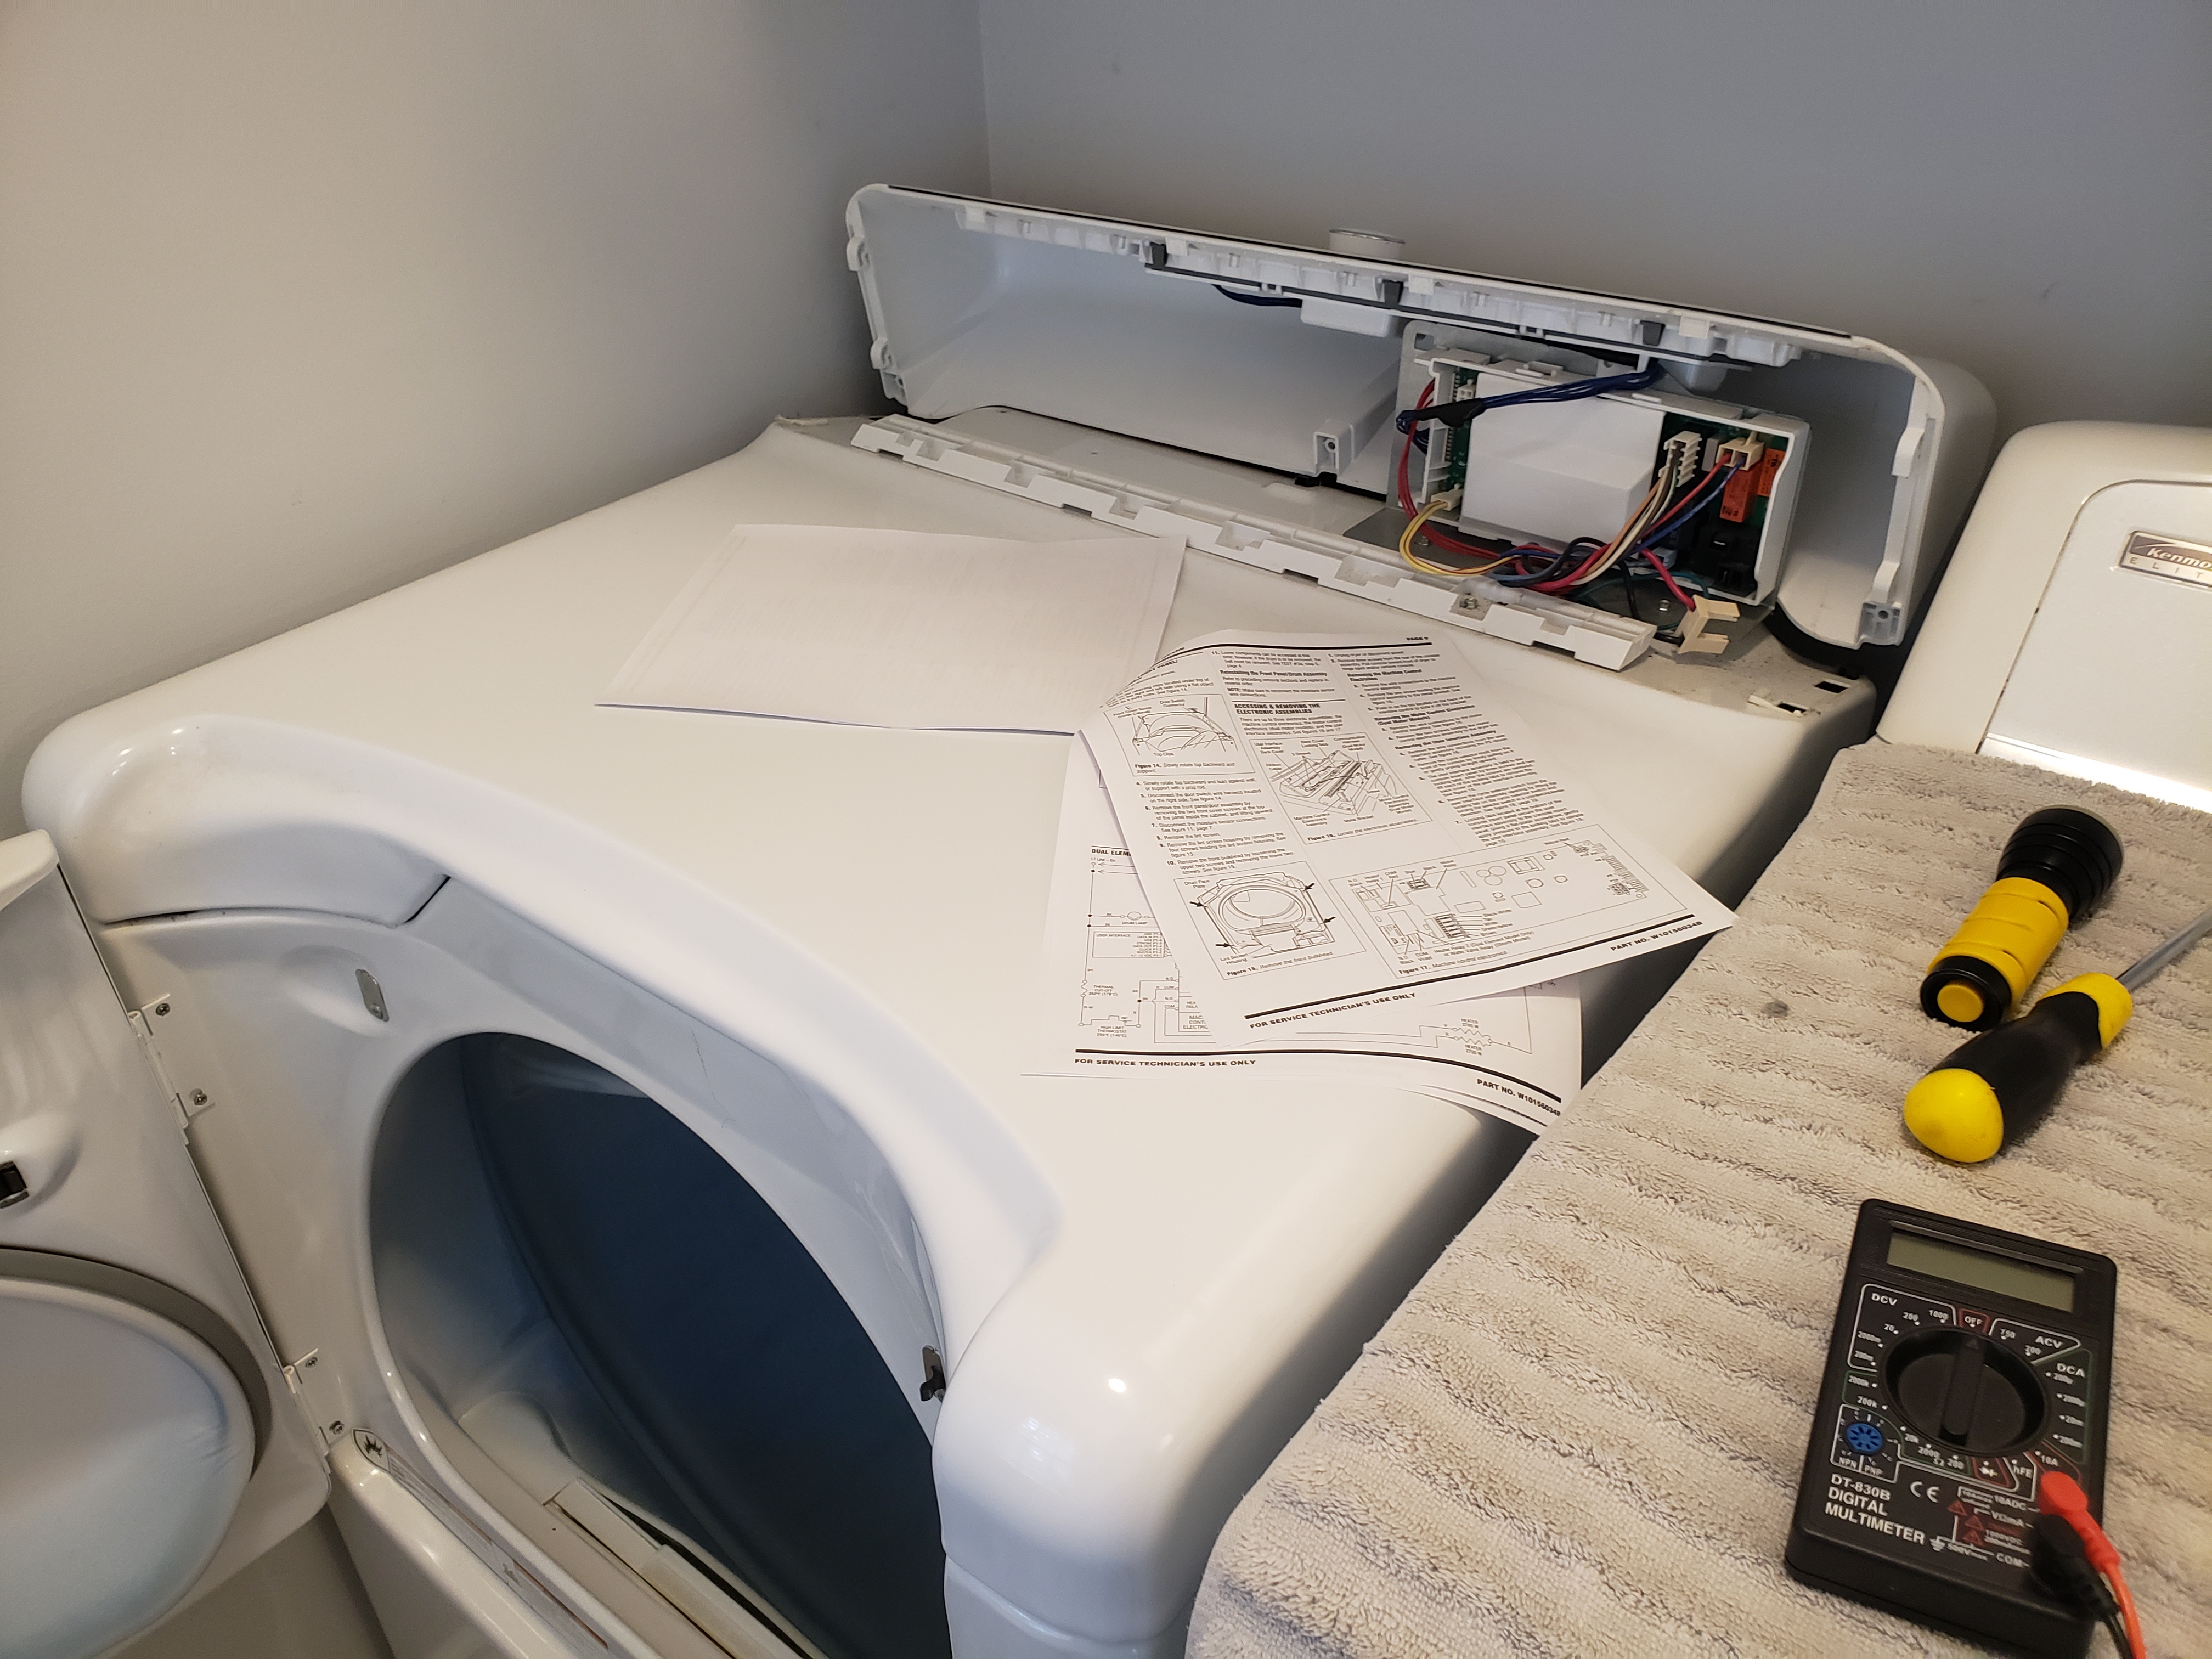
Oh boy, this dryer again... Over the years I've replaced 2 heating elements prior, but this time I think I got to the root of the problem. It's a typical electric dryer 10+ years old...the element burns out, you slap a new one in for $25 or so off of Amazon, and roll on. This time, however, there were several symptoms that made me think a bit more deeply. First, for some time, it had been presenting a "low air flow" alarm, but kept running. I cleaned the exhaust path and removed mucho lint. Seemed better, but still got that "AF" alarm from time to time. Didn't think much about it, until this element burned out. When I pulled the dryer apart, the heating element enclosure was pretty warped up from excessive heat. After studying how the air flows in this system, I discovered the blower actually draws air through the heating assembly, then through the clothes drum, then out of the unit. Air flow is measured in the heating assembly. The main drum has a leather and felt seal in the front and rear that had become very worn. This allowed air to be drawn from the cabinet area and in around the drum, reducing actual flow in the heating element assy. This caused the heater to run MUCH hotter than normal, and hence failure of that. OK, so I replaced the seals and element, and put it back together. I did notice that the element has struck against the inside of the heater enclosure when it burned in half, and made a big arc mark in there. Remember that....
OK, so all is back together and running fine. No AF alarm, but it's running really HOT. I put the dryer in "air dry" mode, put an ammeter on the 220v input, and it's still pulling full power from the service...even when no heat should be on. I pulled the control board from the head of the machine, and found the relay that modulated the heating element on and off to control heat, was welded "closed". When the unit was on, full heat was being applied. I ordered and replaced the relay, and the unit went back to controlling temp. Seems when the element broke and struck the housing, it destroyed the relay contacts at that time.
All is back together and operating properly. I know this isn't radio, but maybe it'll help someone out there, one of these days :-) Here's a few pics...


Dave WB4IUY