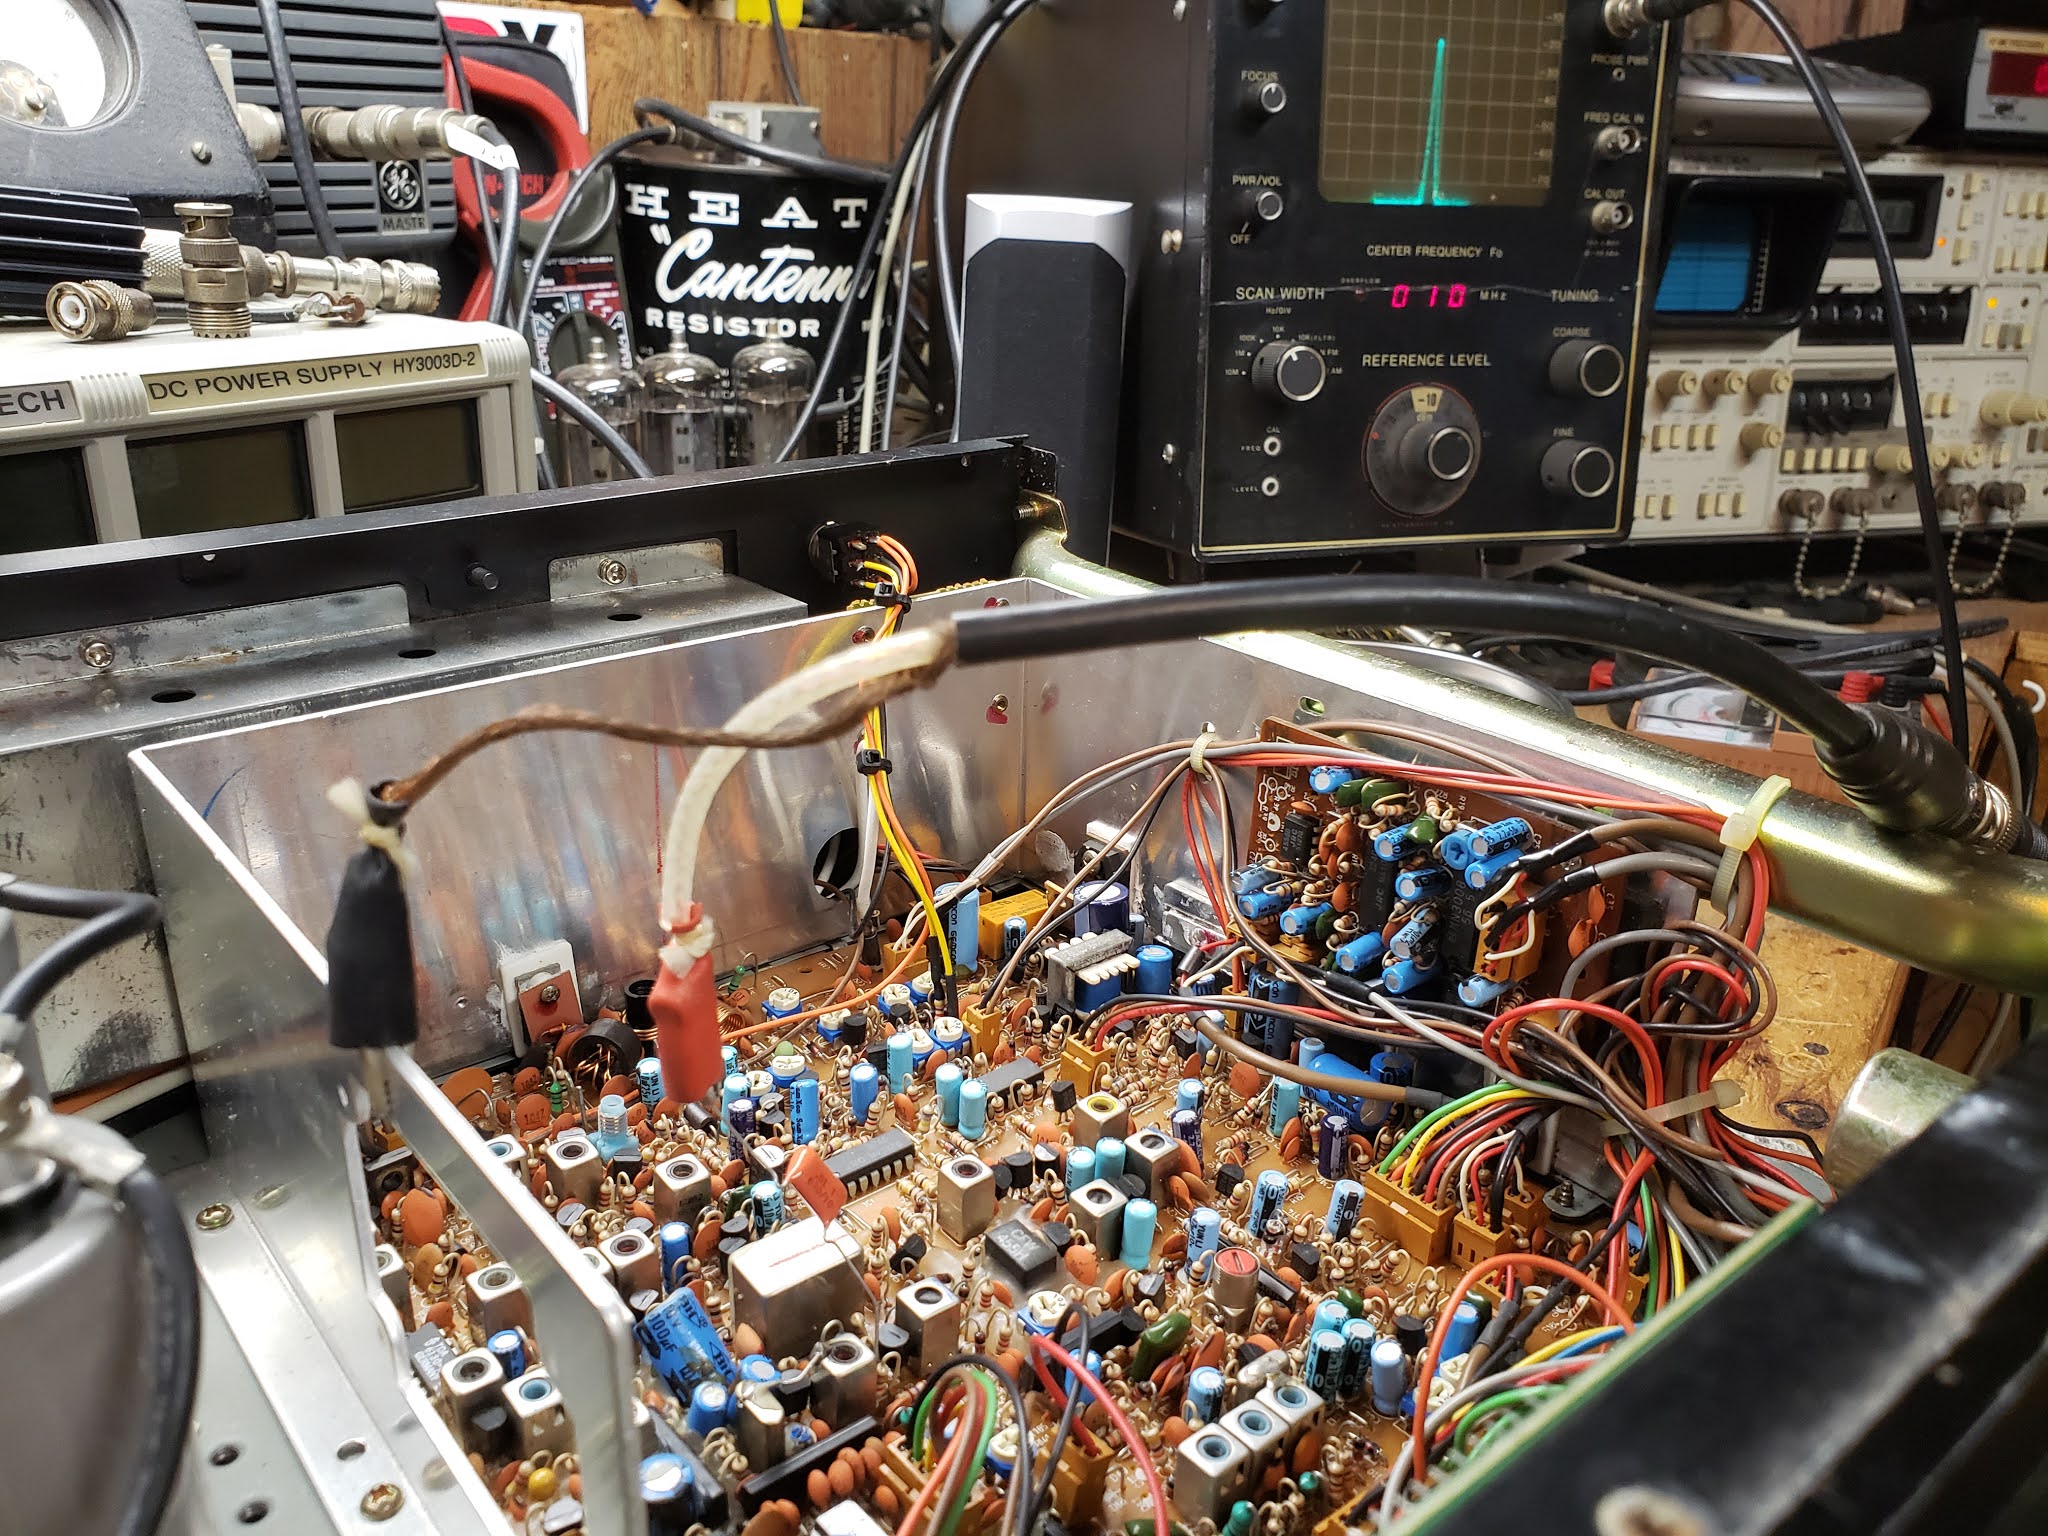
I seem to have a knack for getting radios to restore, that everyone east of the Mississippi had had their hand in. This was no exception. A friend wanted me to have a look and get this back in order. Pretty much nothing was correct, and it had lots of little issues. Here's what had to be done to bring it back to "better than new" condition...
I eliminated the noise generating light dimmer that is a problem in the early models, a few component updates quieted it down nicely. Updated R246 to 4.7k to improve LSB rx. Changed R78 to lower value to improve rx sensitivity. I installed the clarifier mod to allow tx to follow rx up and down about 1.5 kg, it makes SSB operation much easier. I replaced all lamps. Fixed audio output stage (bad TA7222 audio chip), replaced a few of the 10v caps in the audio stage that had failed. Aligned everything (VCO, all osc circuits 10.240, 11.350, 10.695, USB and USB offset oscillators, all rx and tx circuits). Also updated the balanced modulator diodes for better carrier suppression in ssb transmit.
After getting it on the air, I noticed SSB stations had that "irony" sound like many of the early 2950's. I found the bfo (10pf) & i.f. (5pf) caps in wrong place. Some of the early rigs were assembled at the factory with those 2 caps in the opposite places, causing the bfo level to be low at the ssb detector. Now SSB signals are clean and sound like AM.
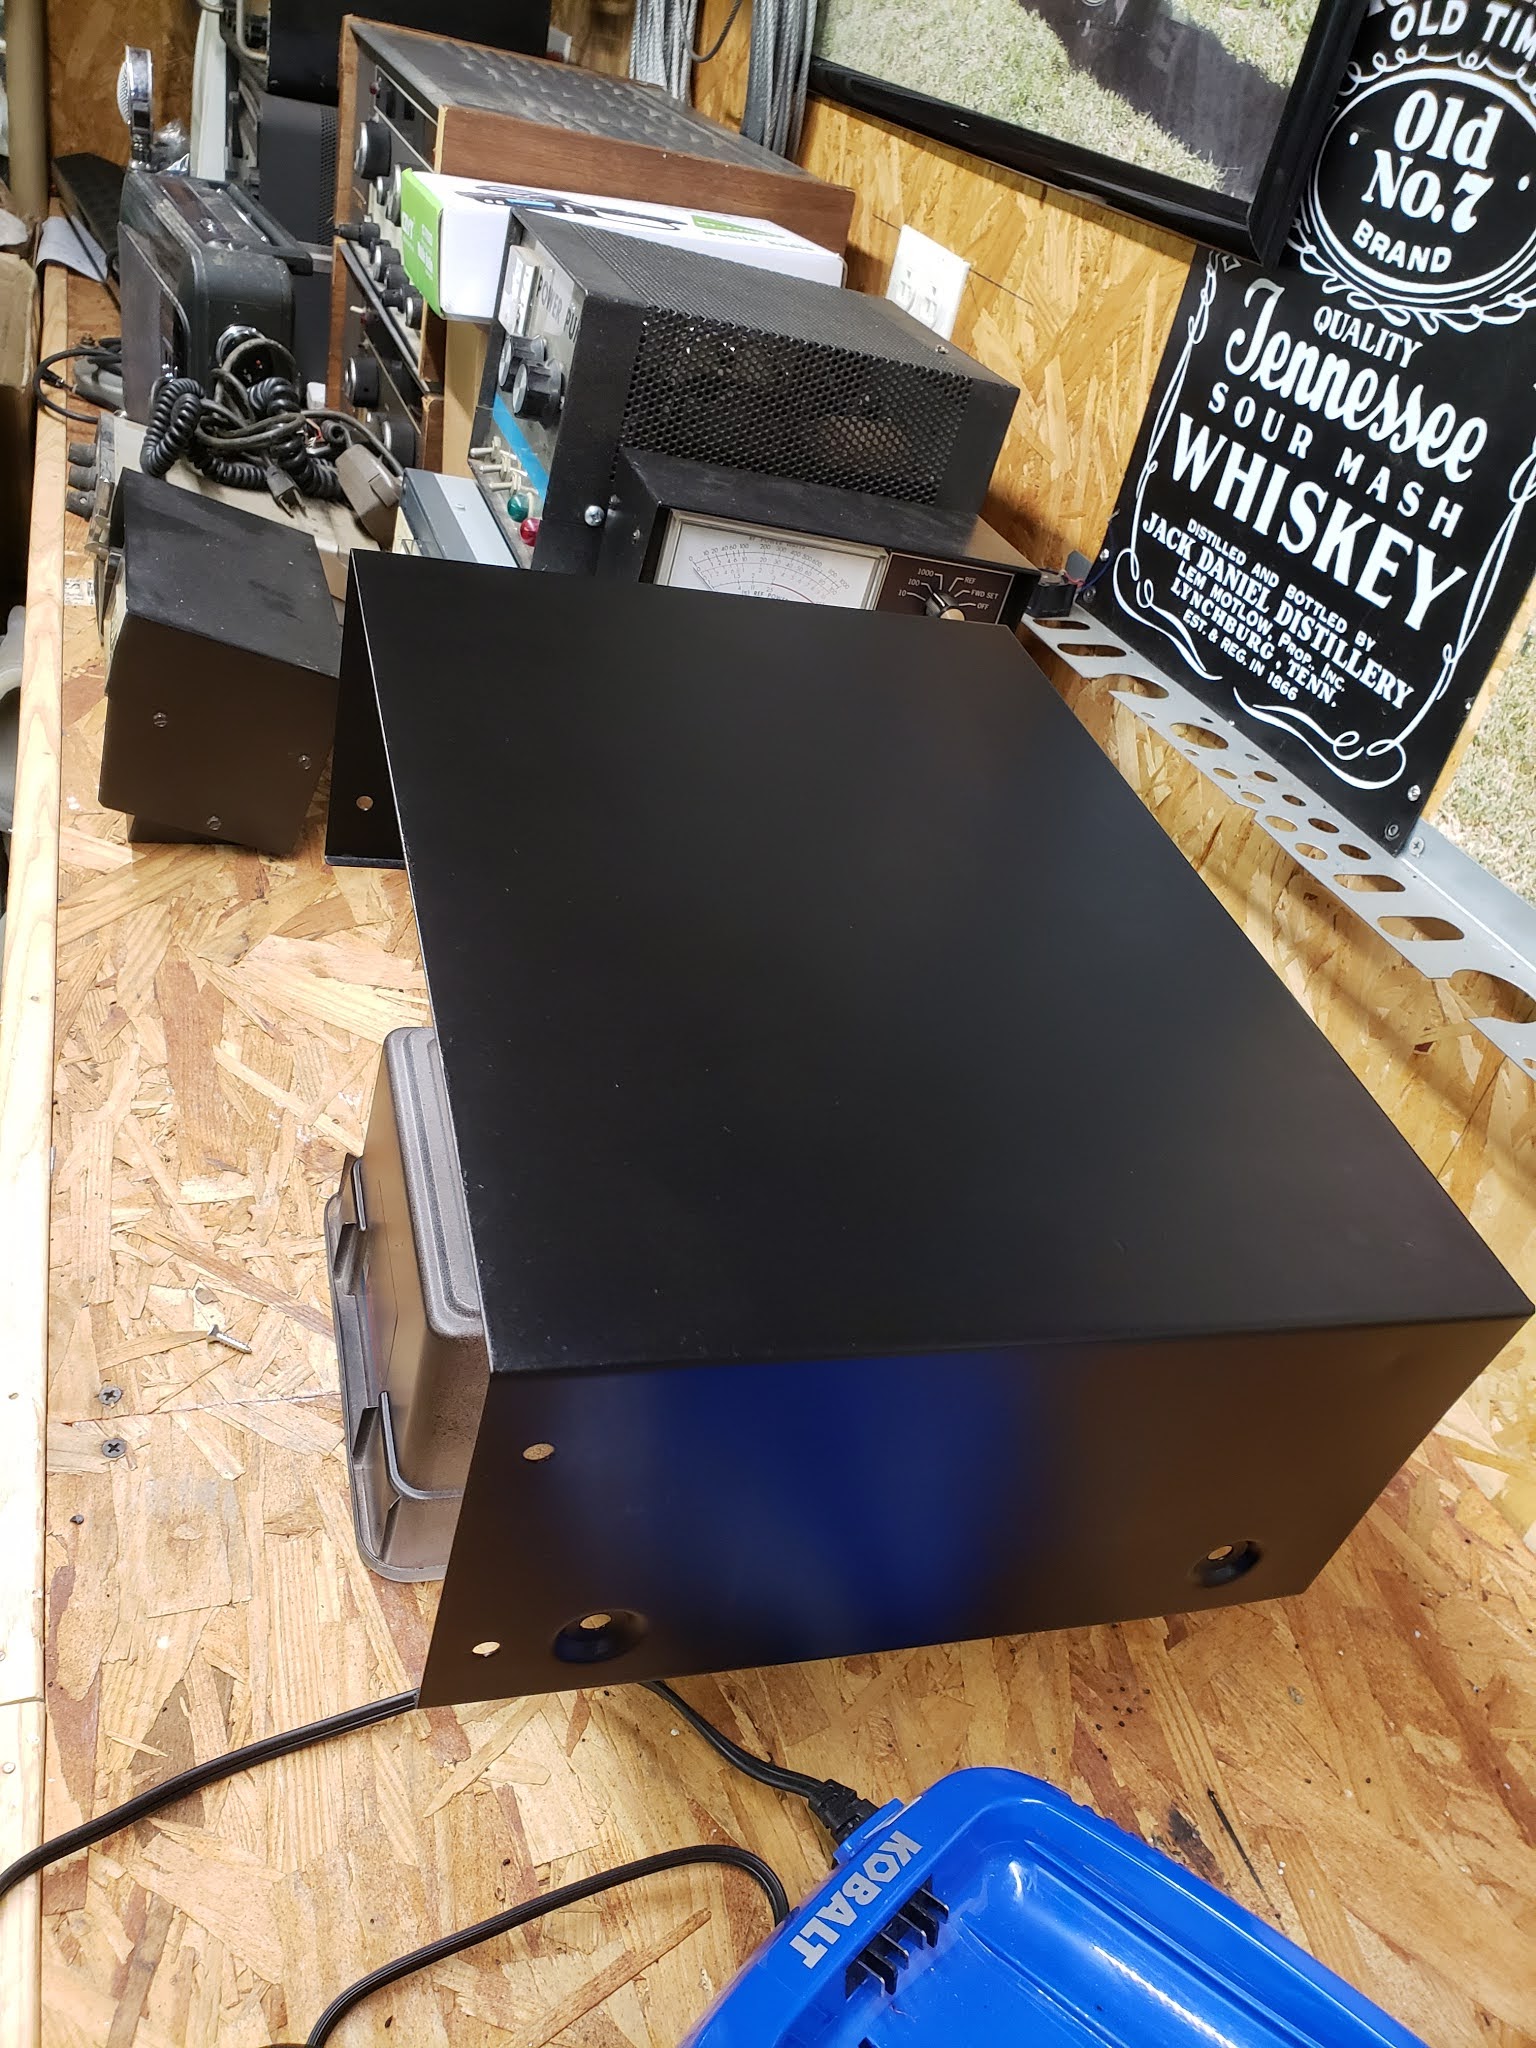
The bracket that held the mic connector was loose, the only way to get to them was by removing the entire face plate assembly, all knobs, etc. So...that's what I did. I also stripped and painted the cabinet, it looked pretty rough, but now looks like new.
These radios have a silly mute circuit that momentarily mutes rx audio when the channel selector is turned, this drives me nuts. I modified the mute circuit so the audio isn't constantly dropping out between channels when you turn the channel selector. Receive signals are now nice and smooth and much easier to listen to when turning the knob.
Here's a few pics of the work and the final results...