Wednesday, February 14, 2024

1936 Sparton, Part 2...

 Here's another photo dump on the Sparton. I'm still experimenting with various ways to remove the finish / strip the radio for restoration. I've had a lot of tips from guys on the various Antique Radio groups, and have been trying them tonight. The video below explains it better...


Below, gluing and pressing another small piece of veneer in place before stripping the cabinet. Overall, the cabinet is in great shape.


Testing Citri-Strip on the top of the radio cabinet. I've never used it before, and it seems to take a couple of applications on this cabinet. 


After first application of stripper, I'm wetting the area down with mineral spirits to remove excess stripper.


Second application of the citrus based stripper. Not much more coming off, but a little. Not sude this is the best way, the crowns on the cabinet are a mess and tough to clean & strip.


The next 2 photos are of the cabinet top after the second application of the stripper. I've wetted it down with mineral spirits again, to remove any excess and see what the wood might look like when refinished.


Next, here's the top with all finish removed, cleaned, and totally dry. Wow, those veneers are beautiful! Someone said this is "Tigers Grain Maple".


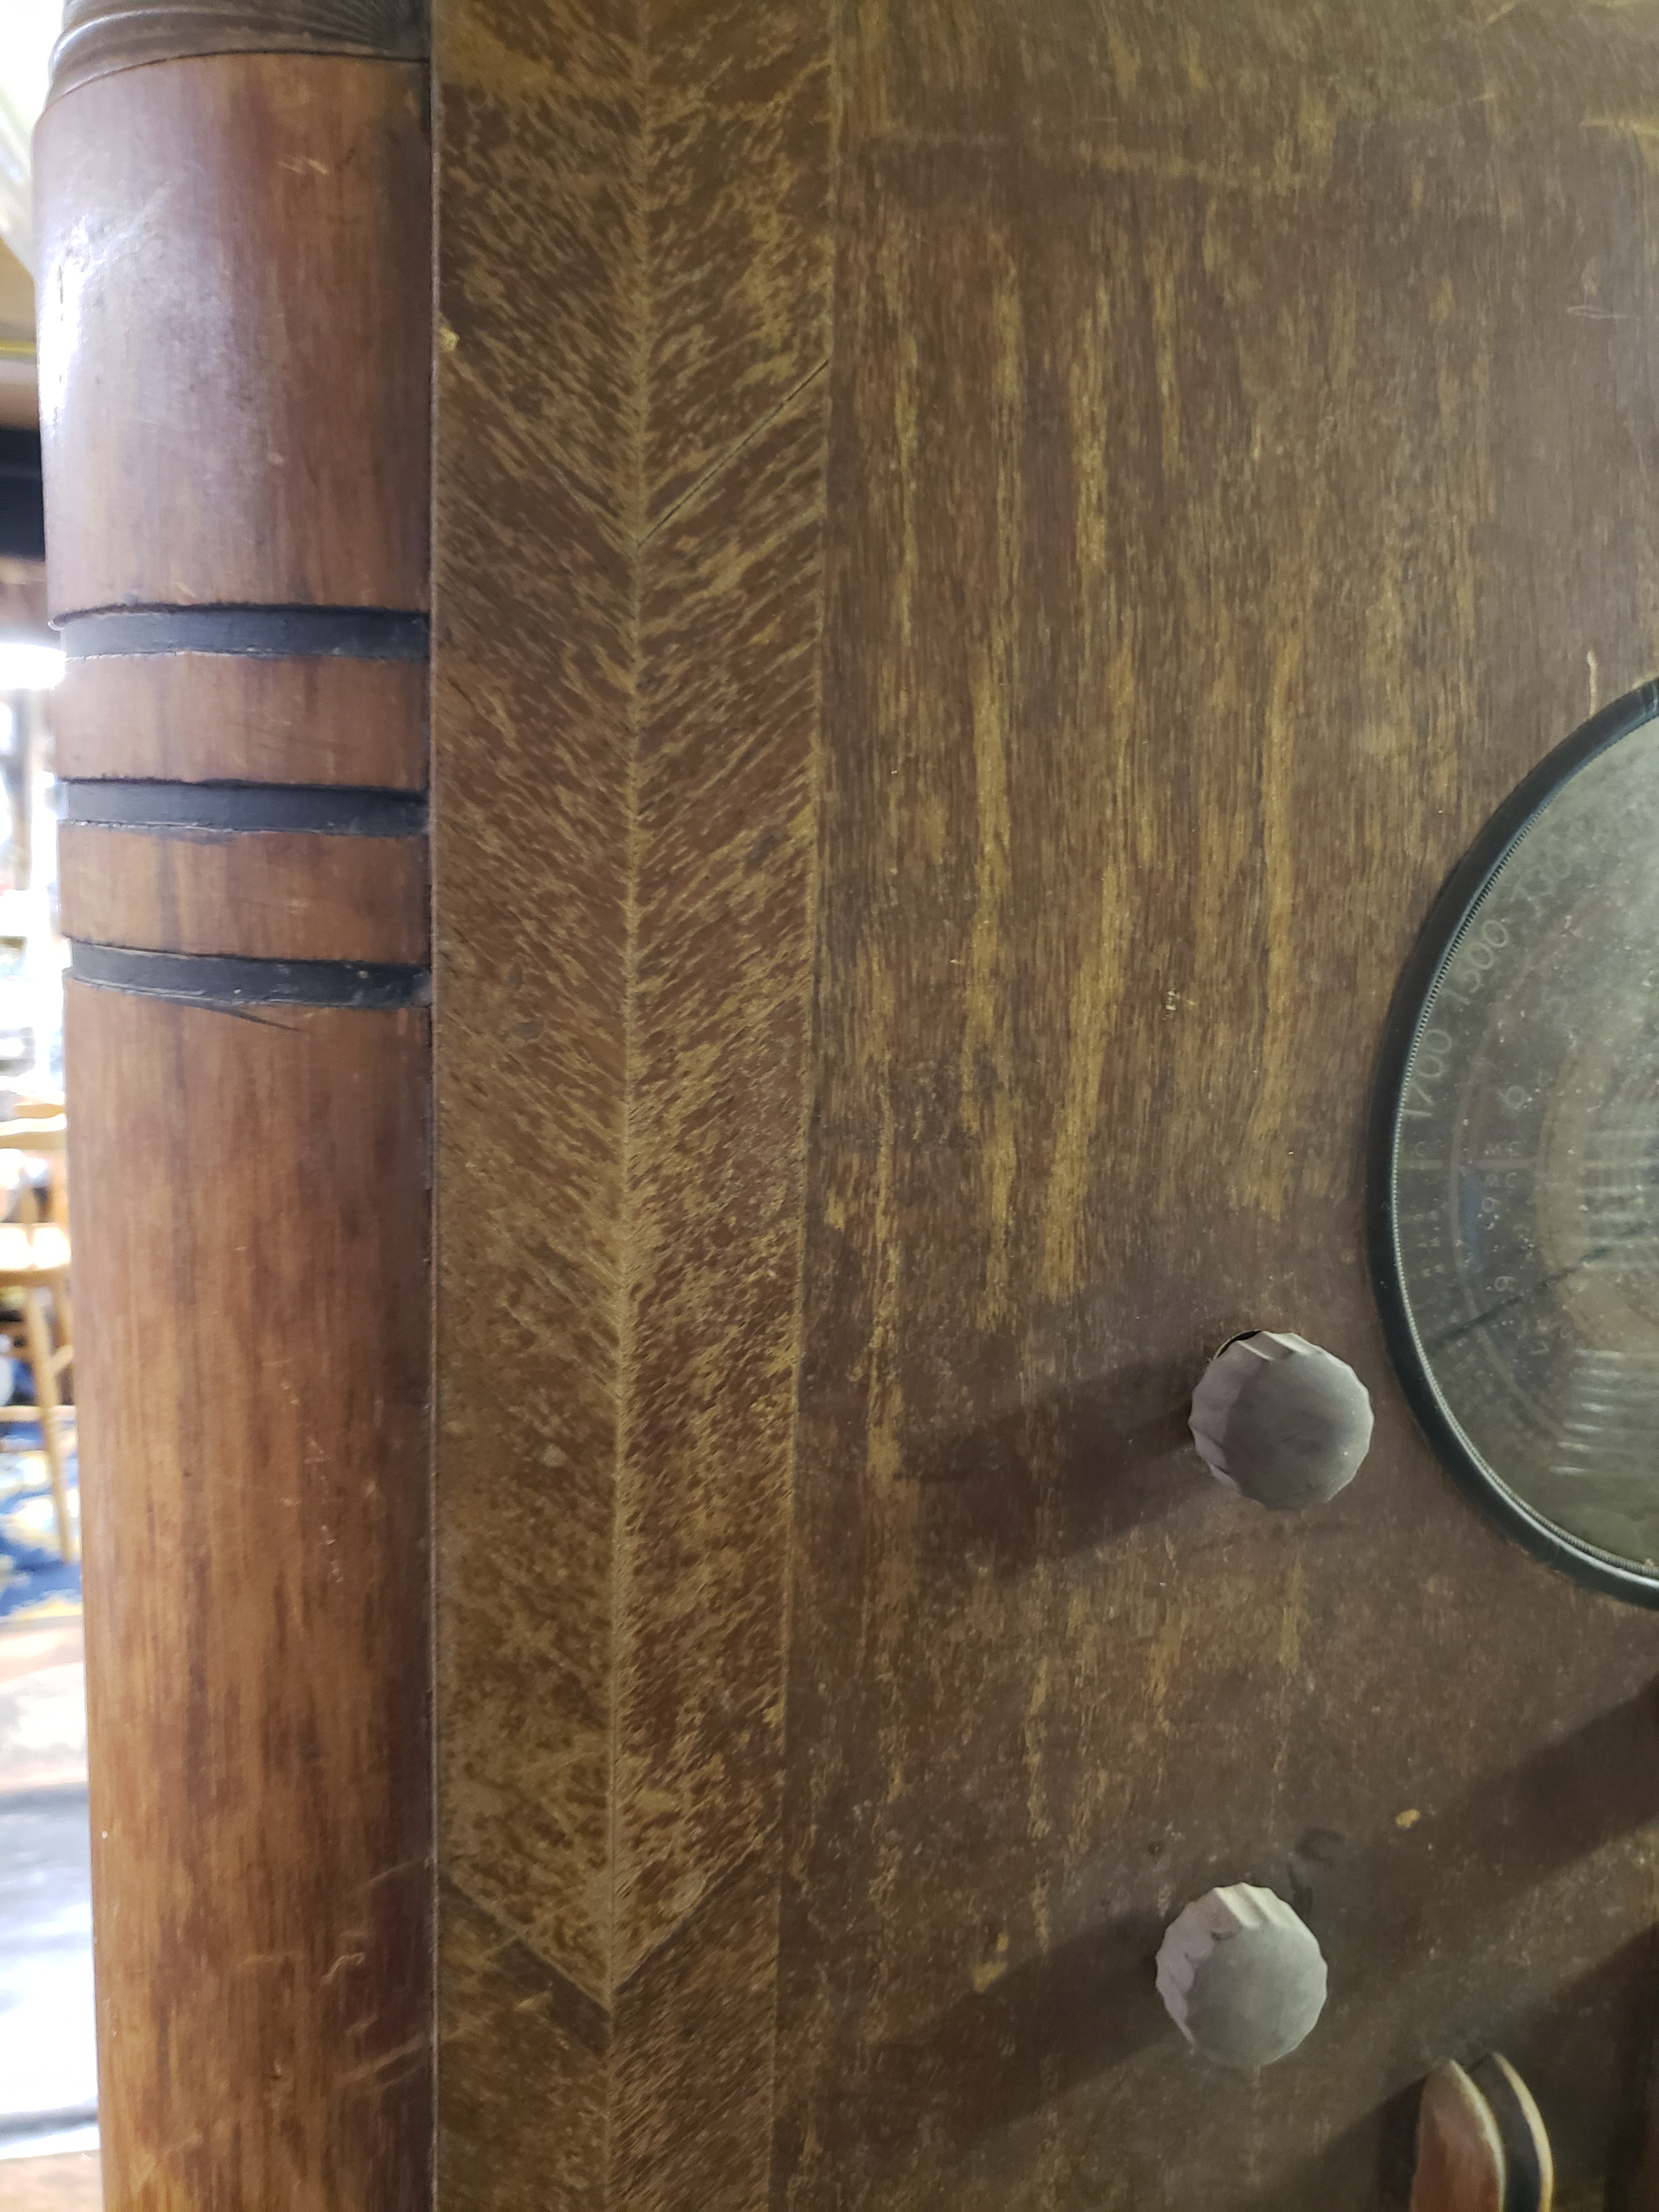
The next two photos show a different process. One of the experienced restorers told me they often only clean the cabinet, then use a rag with lacquer thinner to level the surface and remove some of the finish. Since the radio is finished in lacquer, lacquer thinner is a solvent and will dissolve the finish. I tried it... In the first photo below, the area on the RH side of the pic is untouched, worn, and scratched. The LH side of the pic is where I used a rag with lacquer thinner.... it works! Wow, it softened and leveled the existing lacquer finish, and the scrapes / scuffs disappeared!! Same in the second photo, I rubbed it into the lower cabinet leg, and it is as if it were refinished!


In the photo below, I did the upper cabinet leg with stripper, and it looks no better or worse than the section I rubbed in with lacquer thinner. Amazing...


The cabinet face is now stripped, cleaned, and rubbed down with lacquer thinner. Wow, that wood is BEAUTIFUL!


 Next, I experimented on the cabinet base / feet. They are rough and really scratched up.  In the second pic I tested a small area by rubbing it out with the rag / lacquer thinner method. It cleaned up and blended somewhat. I'll really need to sand and tint those, I think. In the 3rd photo, I used Citri-Strip on the LH foot. It is notably darker, but needs stripping, again. In the forth pic, the RH foot is blended a bit more with a rag and thinner.

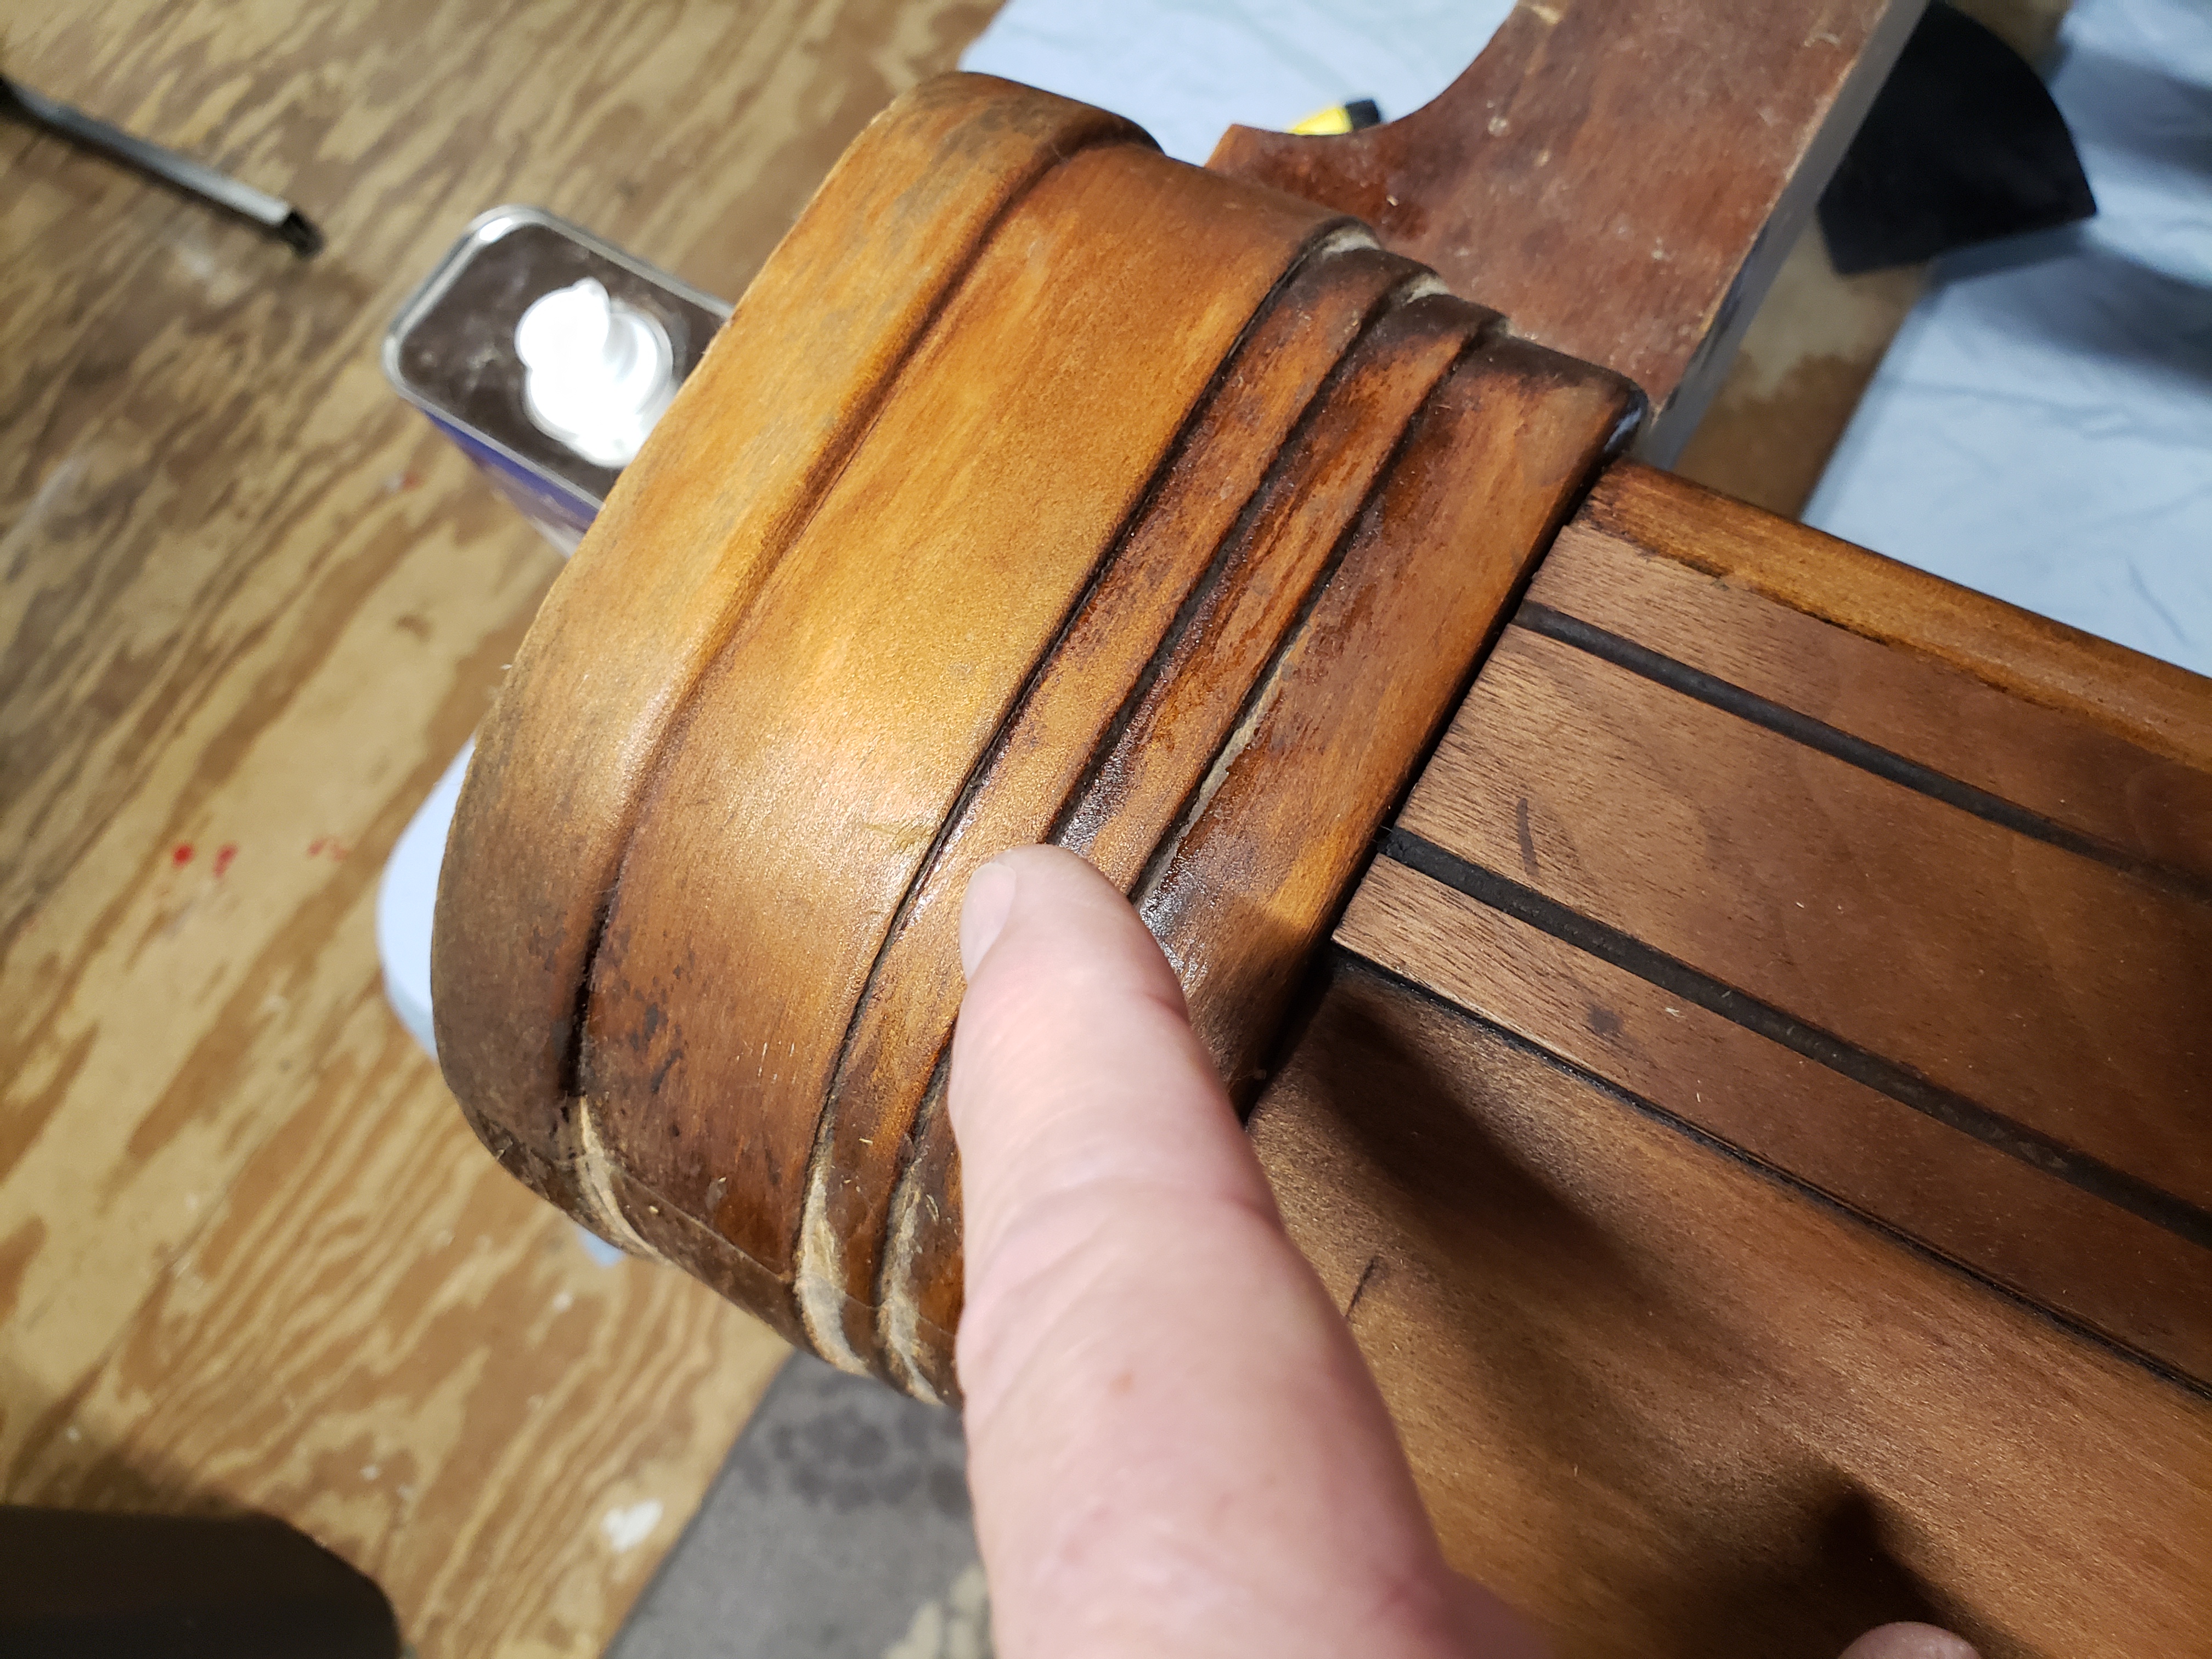


Above, I'm pointing to the "rays" in the Tiger Grain Maple used on the front of the cabinet. They also "book matched" the two passes of veneer on either side of the cabinet face. Beautiful craftsmanship!

Dave WB4IUY

http://www.WB4IUY.net


Tuesday, February 13, 2024

Concrete Truck R/C, Omnex...

 This is a little bit on some Industrial R/C equipment I repair from time to time. These systems are used to guide and control concrete pumping trucks, though I have have worked on some that remotely controlled cranes, and even one skid-steer. There's practically no shops that do this, so it has become a bit of a niche repair operation in my workshop. I've worked on various models operating on 370mhz, 900 mhz, 2.4ghz, and even 10ghz. This particular system was made by Omnex, and operated on 2.4 ghz. I questioned the previous history of it, as it seemed to have maybe been used as a parts unit...every aspect of it had problems. The portable unit had wires cut, the internal antenna was missing and wiring damaged, and the TX final output device was toast. In the base station (the fixed unit that is installed on the concrete truck), the proportional module that controls the arm had to blown modules, and the receive module has a bad 1st rf amp (lightning strike, maybe?). No matter, I repaired it all, gave it a range test, and it's back on the job site and controlling a remote controlled concrete pumping truck :-)


Dave WB4IUY

http://www.WB4IUY.net


Wednesday, January 31, 2024

1936 Sparton, Part 1

 This is a multi-part series on the restoration of a 1936 Sparton Broadcast & Shortwave floor model radio. I was fortunate to find this in the condition it was in. Everything was intact, and it only had one piece of veneer broken. The owner bought it 50 years ago to restore, and even had the piece of veneer that was broken, in an envelope with the radio. He said since he had it 50 years, he figured he wasn't going to get around to restoration, so he put it up for sale. Debbie AC4QD is into crafting and furniture restoration, and decided she wanted to do the woodworking aspect of this, so here we go! Below is a pic of it, after transported to the shop. What a beautiful beast!


Below, you see the Sparton in the back of my little Ford Escape, making it's journey to our workshop. It was pretty solid, and only had a few loose wood joints, scratches, etc. A few of the knobs are incorrect, and one piece of broken veneer. The glass face, though very dirty, is in great shape with no cracks or scratches! The speaker is original, and looks to be in good shape. Amazing, for a 88 year old radio.


Below, the electronics are solid! All there, not hacked all up or damaged, just needs restoration. I'll replace all of the old paper/wax caps, probably most of the resistors, clean the chassis / tubes / tube sockets and test the tubes, replace the rubber bushings in the tuner deck, etc. Typical electronics restoration of that era.


We're removing all of the various bits in preparation for repairs to the cabinet and refinishing. Pulling the grille cloth panel, large dial lens, electronics, chassis spacers, magic eye tube mounts, etc.  We're gonna try to hand wash the grille cloth in Woolite and cold water, and press dry....maybe it'll work. Otherwise, we'll have to search out some aftermarket cloth.


Next, we got the veneer repaired and ready for leveling (see my chunk of weight to press the veneer during curing?), all of the joints were re-glued and clamped, interior cleaned and ready for a fresh matte black paint coat. Stripping of the old finish comes next. More in Part 2 coming...


Dave WB4IUY

http://www.WB4IUY.net


Fluke 8050A and Magic Smoke...

 Well, we've all heard the term "magic smoke". While tinkering in a 2500Vdc supply, I did just that to my Fluke 8050A bench top multi-meter. It let out that sorta of hollow sound of air blowing. Its not rated for that kind of voltage. I usually use an old HP VTVM & high voltage probe, but totally spaced out and crammed the + probe of the Fluke in there. 

Oh well, I downloaded the schematics, cracked it open, and found that the Fluke has 3ea 430v MOVs in series across the input for protection. Yay! I clipped them open, and all was well, so it was an easy repair. 


While I was at it, I made a couple of "down and dirty" HV probes to allow me to poke around in maybe up to 3kv. The DVM has an input impedance of 10megohms. A couple of junker probes served for this quickie mod. To the tip of one, I soldered a 10 meg 5w resistor to the end, using the resistor as the probe tip. To the other, I soldered 2ea. 10 meg resistors in series. The probe with one is /2,  900 v measured is actually 1800 v. The probe with two is /3, so 900v measured is actually 2700 v. This is DANGEROUS, be careful if you try my foolish trick, but it works for me.


Dave WB4IUY

http://www.WB4IUY.net