This is my first attempt at recovering a pair of Ten-Tec Century 21 case halves. Ten-Tec used a textured, self-adhesive vinyl covering on many of their earlier rigs. It would get nicked, torn, etc...and many folks would peel it off and paint. After a bit of searching, I found Wes W3KW, who had done this in the past. I couldn't find any photos of his completed project, but he kindly gave me the name of the material he used. I set out to search for a supplier, look through the different colors, textures, and sizes, etc. I wanted to try and duplicate the original finish on one of my Century 21's, so here's what I did...
The original textured vinyl was about .008" thick, the stuff from
REDODECO is .0065" thick, so it's very close. The texture matches pretty
good, and it's self adhesive. I've built and covered a lot of RC airplanes over the years, so I figured that experience might help some. I covered them like I have model airplanes
and the result is pretty good. Here's a few pics and explanations with
the pics. The material was from Amazon, mfg part # SOLID11 by Redodeco,
black textured, and the size of the roll is 15.8" x 79". It'll do a top and bottom of a Century 21, and have enough left over to do one more piece.
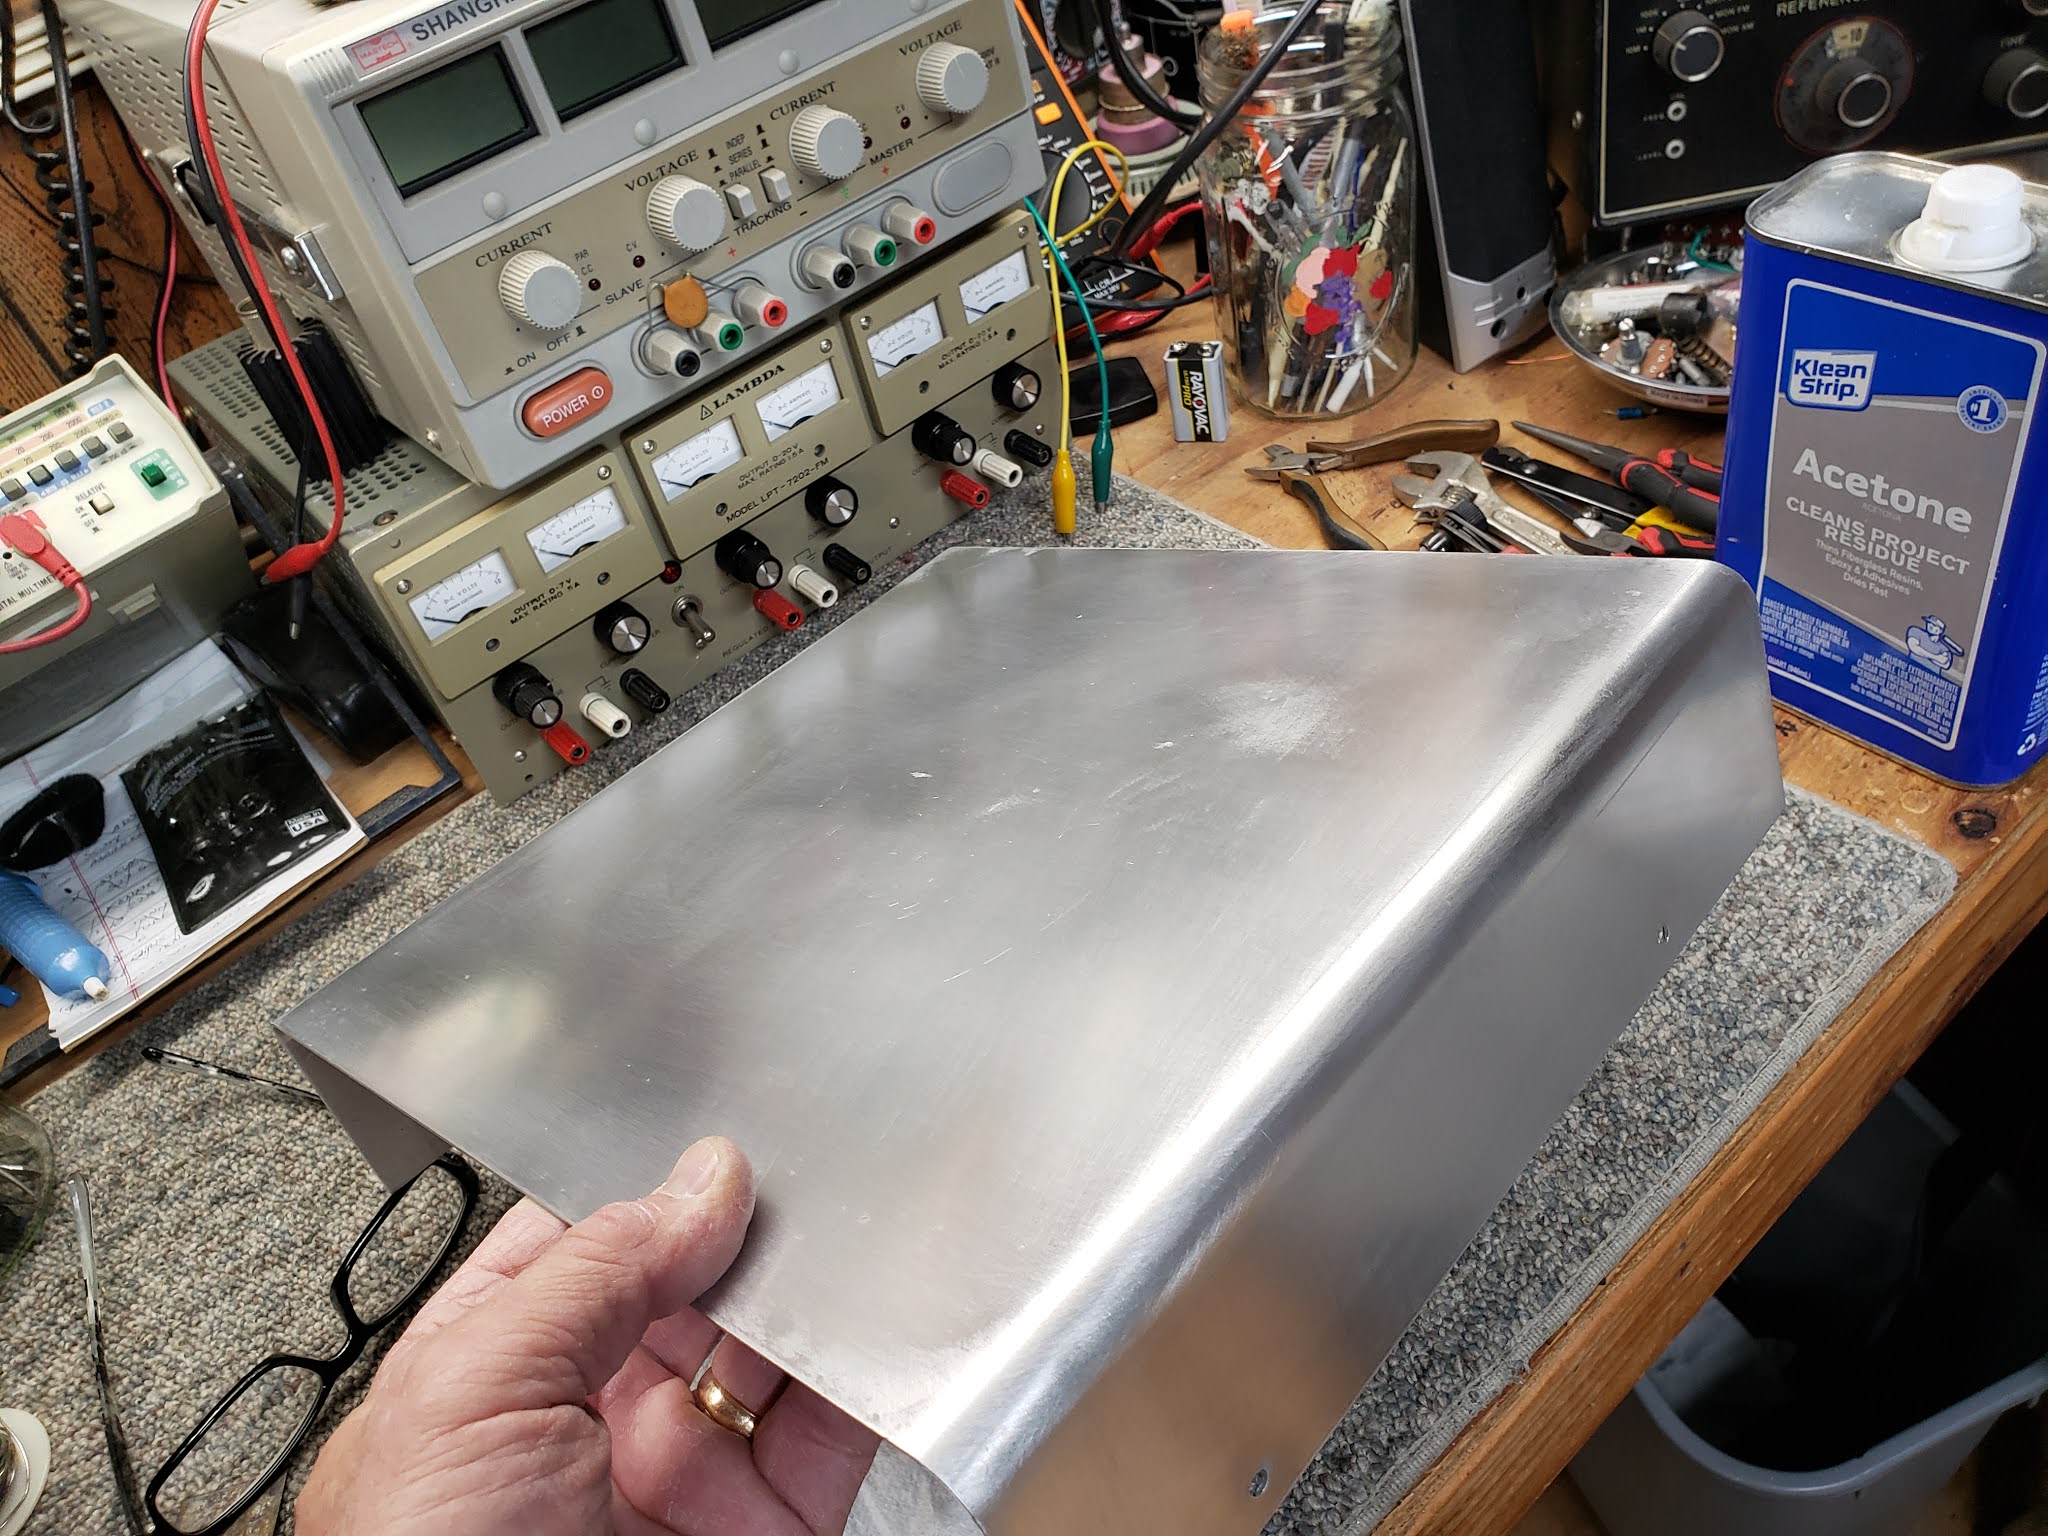
I'll start with a pic of the finished pieces...
This is the top case half. It had the covering ripped off of the front edge, and multiple nicks and tears. It was a shame to be in this condition, as the rig face and internals were extremely clean.
Using a plastic putty knife and box cutter, I got under the edges and peeled the old covering off. It was stuck on there pretty tight, but it finally surrendered and let go :-) It did leave a bit of adhesive behind, though...
Using Acetone, I removed the remaining adhesive. I used a soft foam backed sanding block with #180 grit to lightly sand over the aluminum to blend any dings or picks in the metal surface, and then a fine file around the edges. I was surprised to find the edges of the metal to be shape, just as they were when chopped off in the shear during manufacturing. I thought it best to remove those sharp edges so as to not cut the covering where it wraps around the edges.
I
laid the radio cover on the paper side of the vinyl covering material and allowed an
additional inch on each side, in addition to the amount required to wrap
the lid. Then, I peeled back a small amount of the backing and started
sticking it to the side. I reached under the part and pulled the backing
off while keeping it pulled tight.
When
rubbing the material down and working the air out, a bubble would
randomly be caught. I perforated the bubble with a pin, and rubbed the
covering down. The pin hole would disappear.
Here, I cut the material up to the corner along the bottom edge (where my thumb is in the photo), and folded the material around the bottom edge and over the screw holes seen on the inside of the cover.
I rubbed the wrinkles out in the corners. The material will stretch and blend when pulled. The mfg says says that you can use a hair dryer or hot air gun to aid with stretching the material around corners, but I did this entire job with the material at room temperature.
I put a small piece of scrap in the corners so no metal would be see where the top and sides overlapped in corner.
Here's the finished top section. I used a sharp exacto blade to cut the screw openings.
Next, I covered the bottom in the same manner, then used an exacto blade to cut the openings for the speaker, finger hole for sidetone adjustment, case and feet screws.
...and here's the finished product. Wow, it really turned out nice and was no more expensive than a can of spray paint...and faster than prep and painting as well.
Dave WB4IUY
http://www.WB4IUY.net


No comments:
Post a Comment
Questions or Comments?